Detailed Cloud Instance Instructions
The following instructions detail how to set up a Taraxa lite node RPC node on a Hetzner cloud instance (referral link). Please note that specifications may change over time.
-
Create a new cloud instance with the following minimum settings:
- Location: Any (some are cheaper; not all types are available everywhere)
- Image: Ubuntu 24.04 or newer
- Type: Dedicated vCPU (CCX23 or higher)
- SSH Key: Add your SSH key if available
- Default settings are acceptable for other options
After creation, wait a few minutes. You will receive an email containing the IP address and SSH login details from Hetzner.
Alternatively us any other cloud provider that offers a Linux instance with Docker support.
-
Login to your instance:
ssh root@<IP_ADDRESS>Replace
<IP_ADDRESS>with your instance’s actual IP.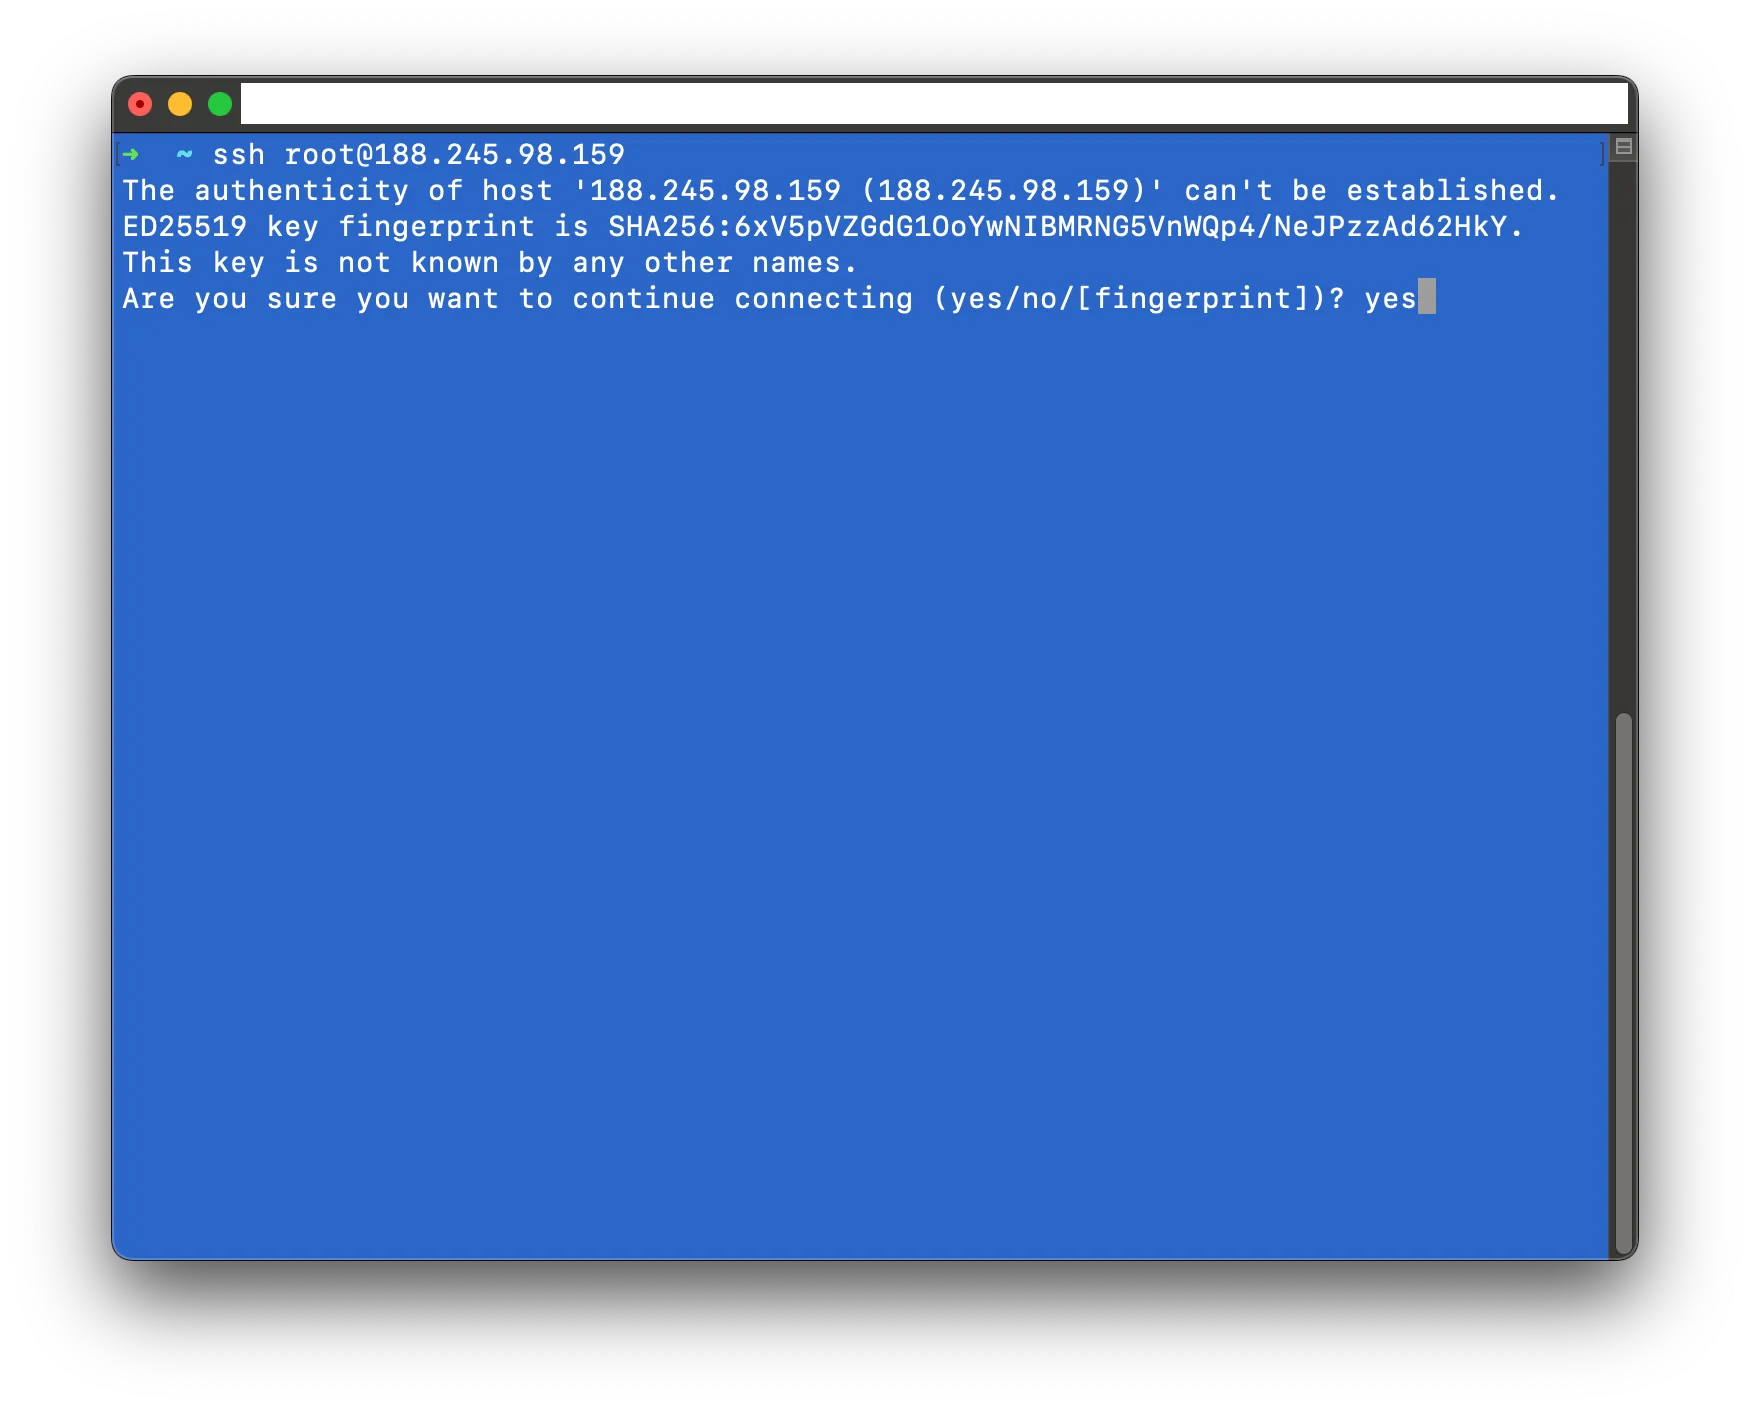
-
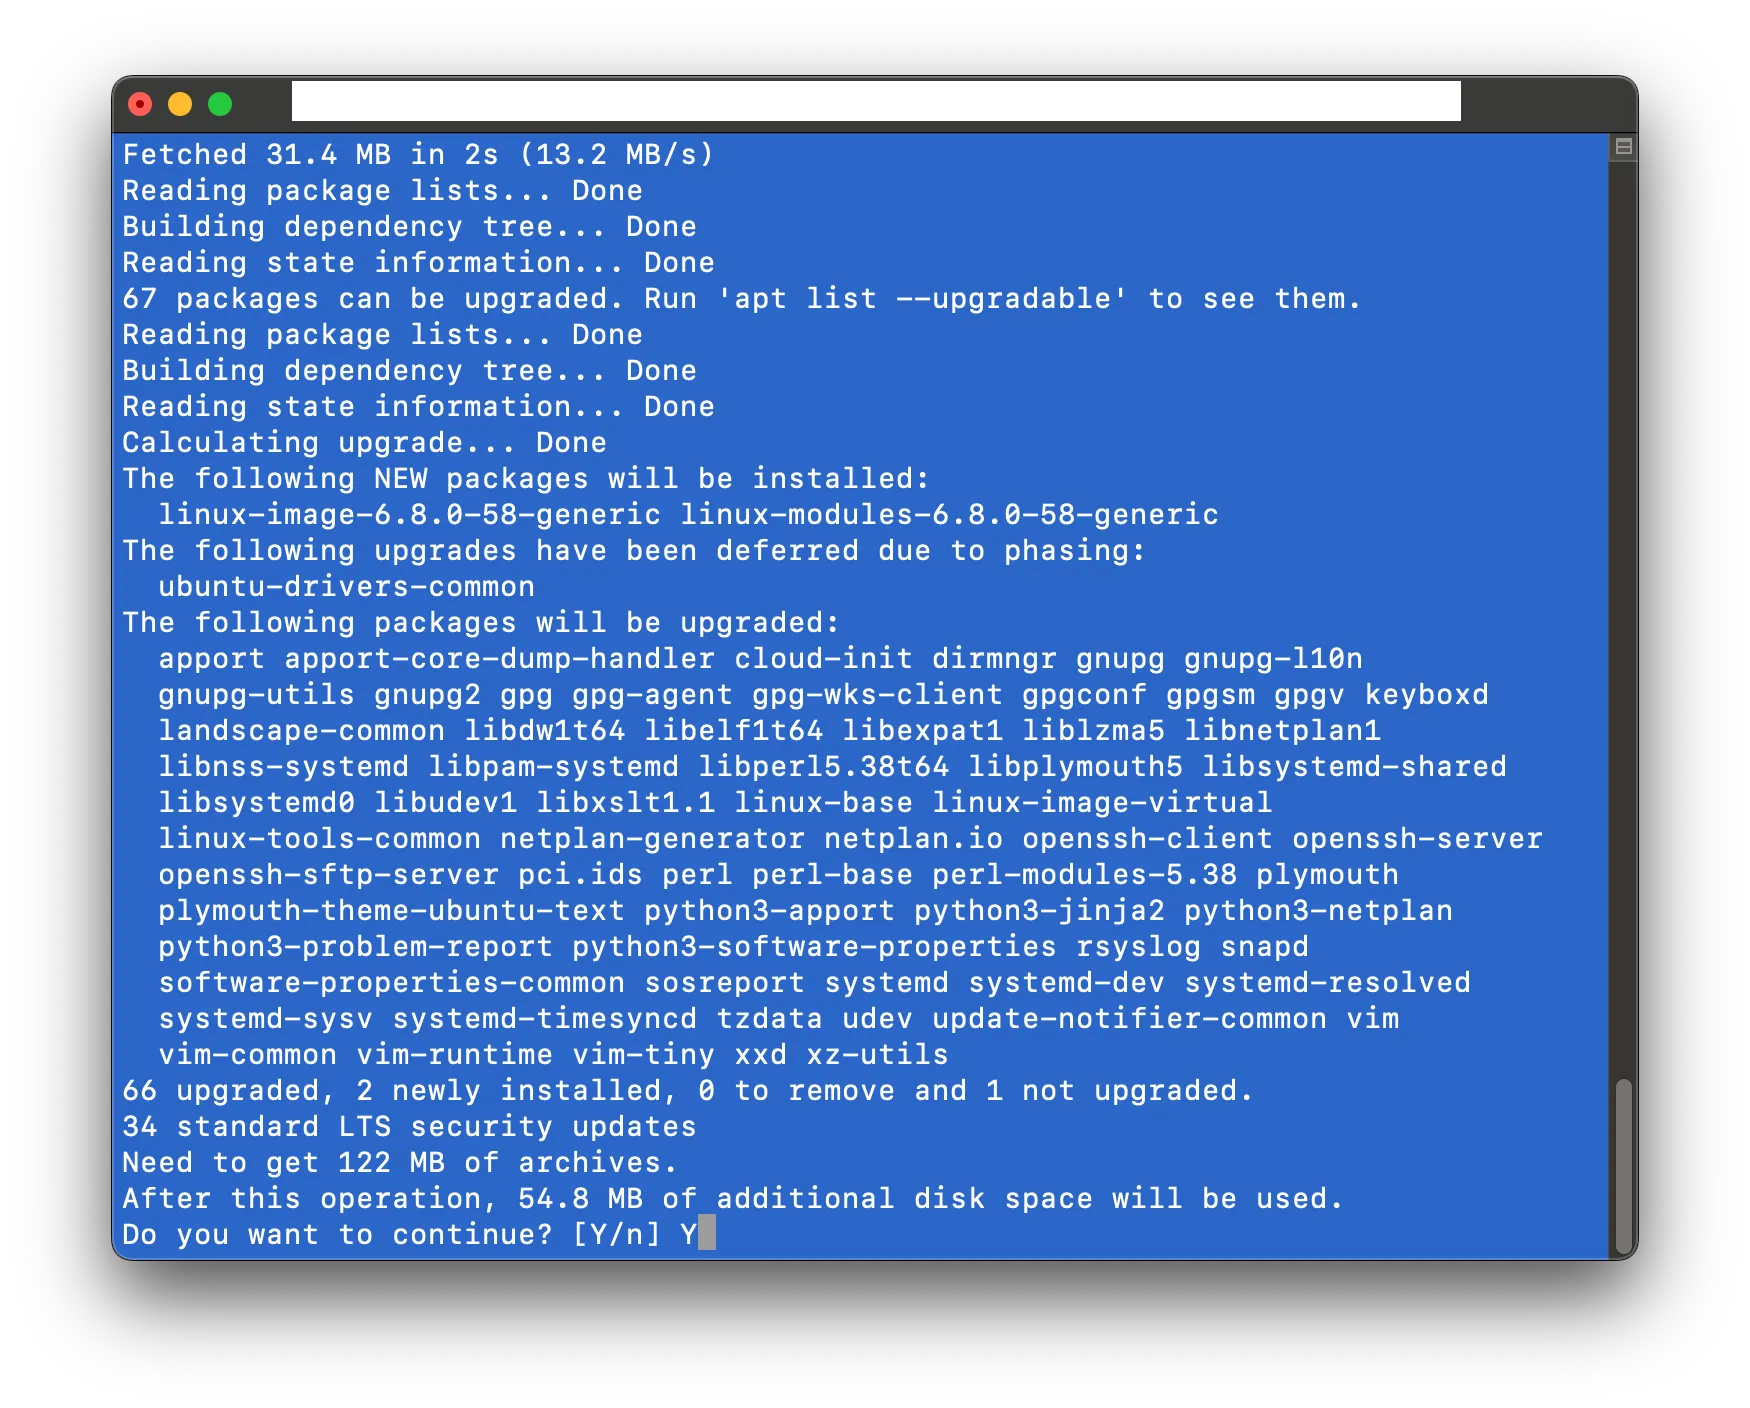
Update the system:
sudo apt update && sudo apt upgrade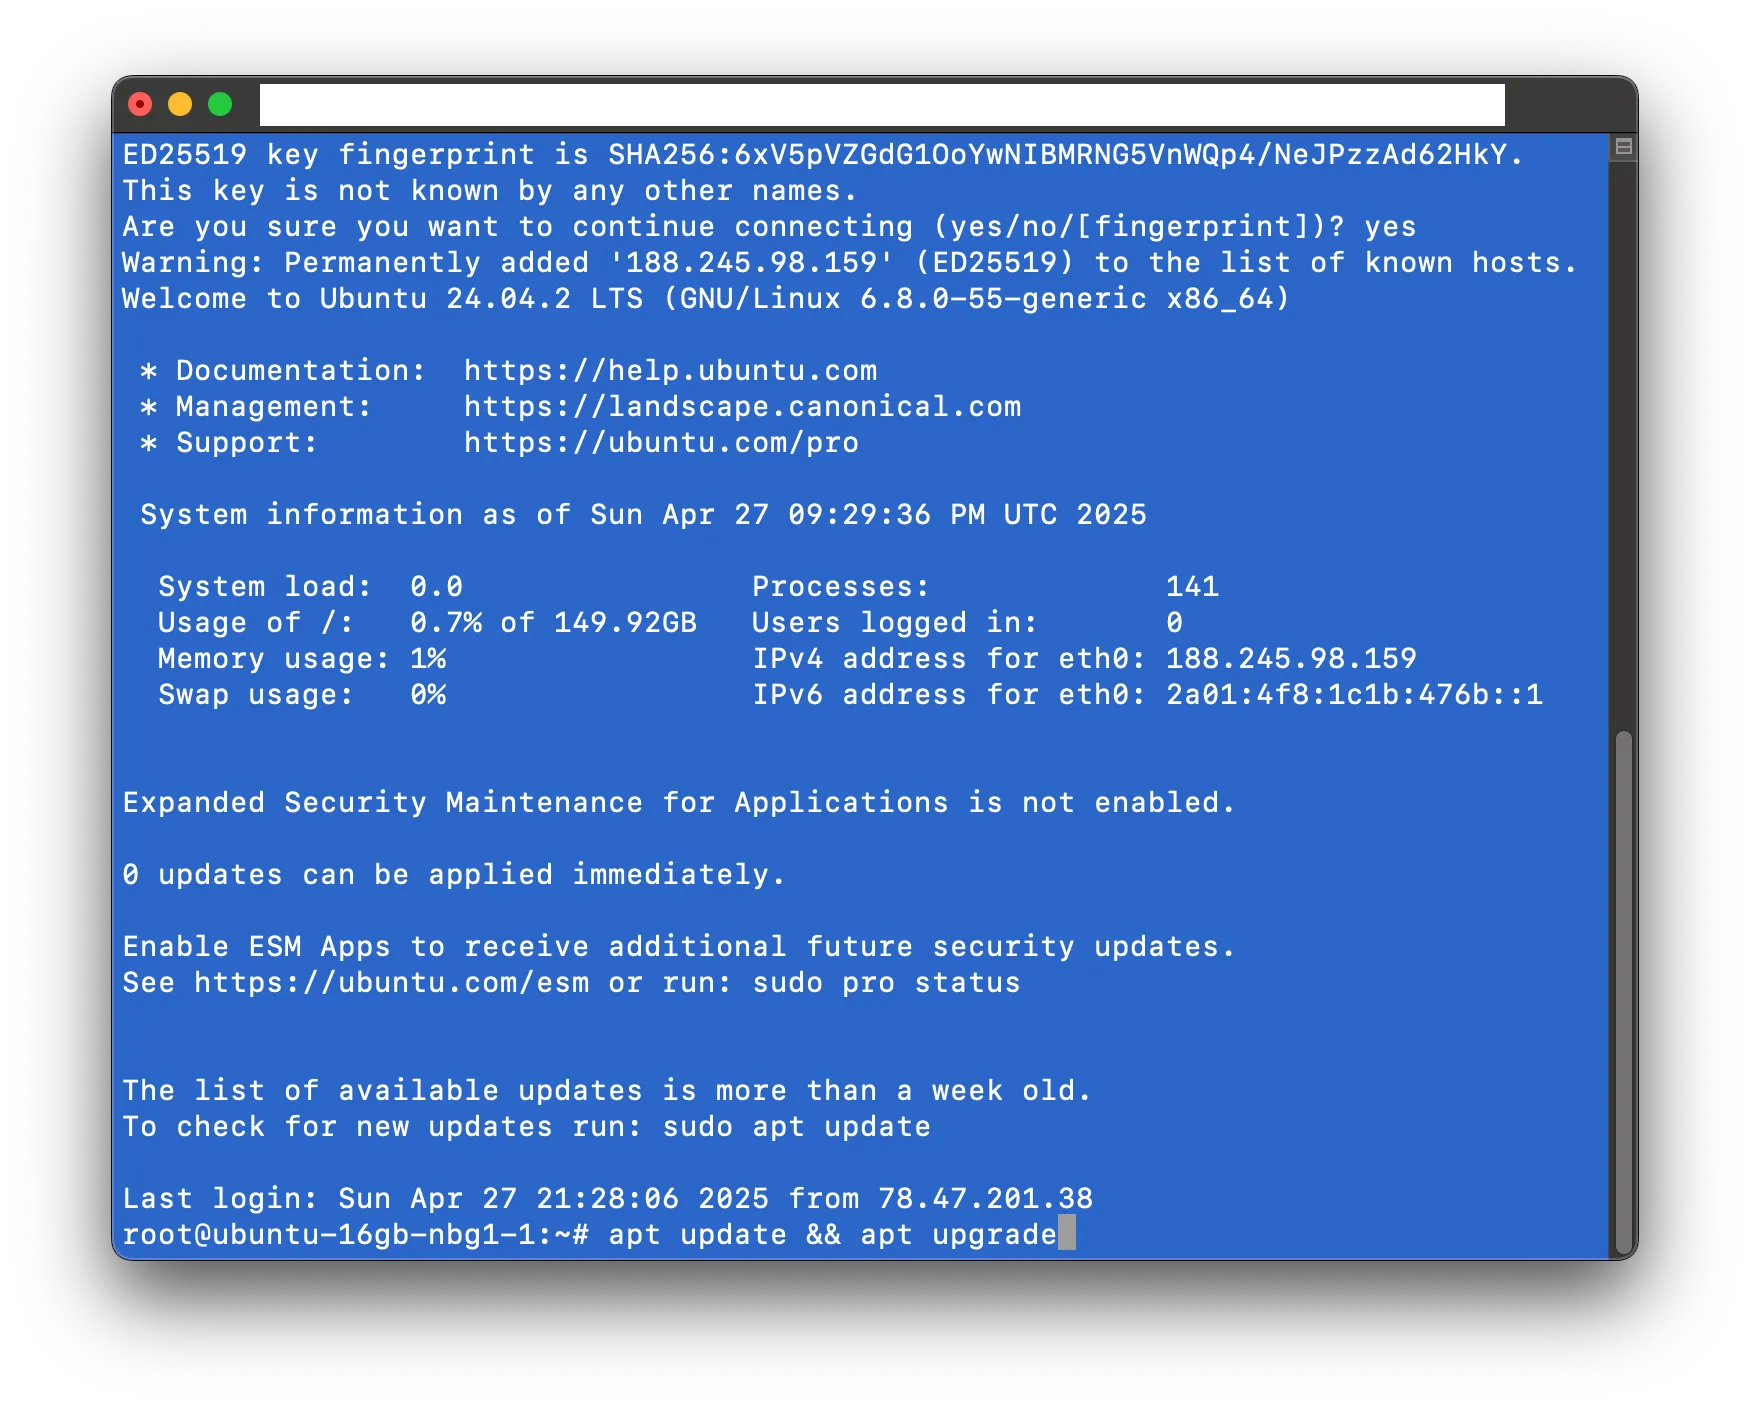
-
Install Docker following the Docker Engine Ubuntu repository installation guide:
 sudo apt update
 sudo apt install ca-certificates curl
 sudo install -m 0755 -d /etc/apt/keyrings
 sudo curl -fsSL https://download.docker.com/linux/ubuntu/gpg -o /etc/apt/keyrings/docker.asc
 sudo chmod a+r /etc/apt/keyrings/docker.asc
 echo \
 "deb [arch=$(dpkg --print-architecture) signed-by=/etc/apt/keyrings/docker.asc] https://download.docker.com/linux/ubuntu \
 $(. /etc/os-release && echo "${UBUNTU_CODENAME:-$VERSION_CODENAME}") stable" | \
 sudo tee /etc/apt/sources.list.d/docker.list > /dev/null
 sudo apt-get update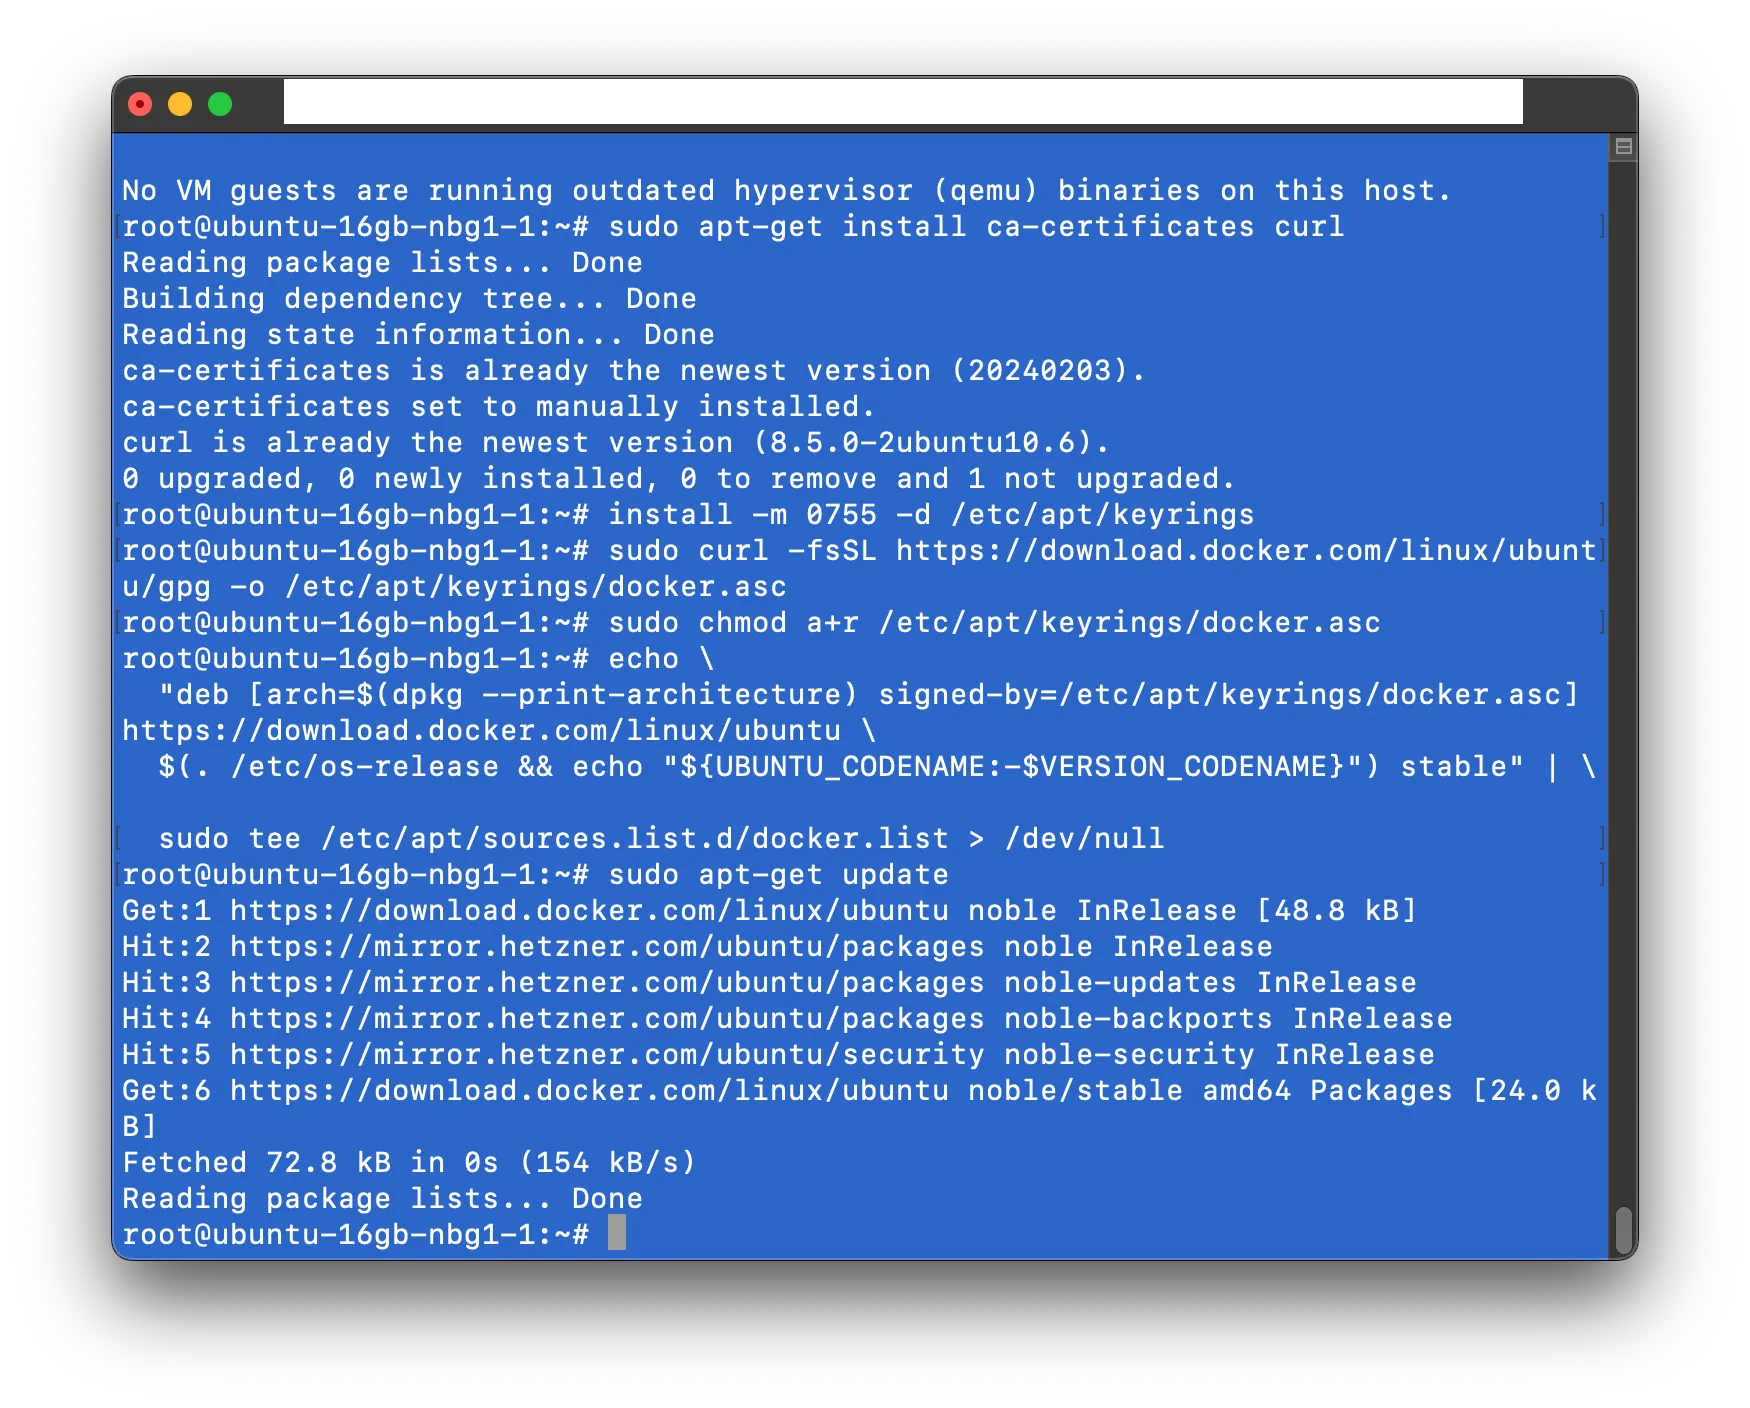
sudo apt install docker-ce docker-ce-cli containerd.io docker-buildx-plugin docker-compose-plugin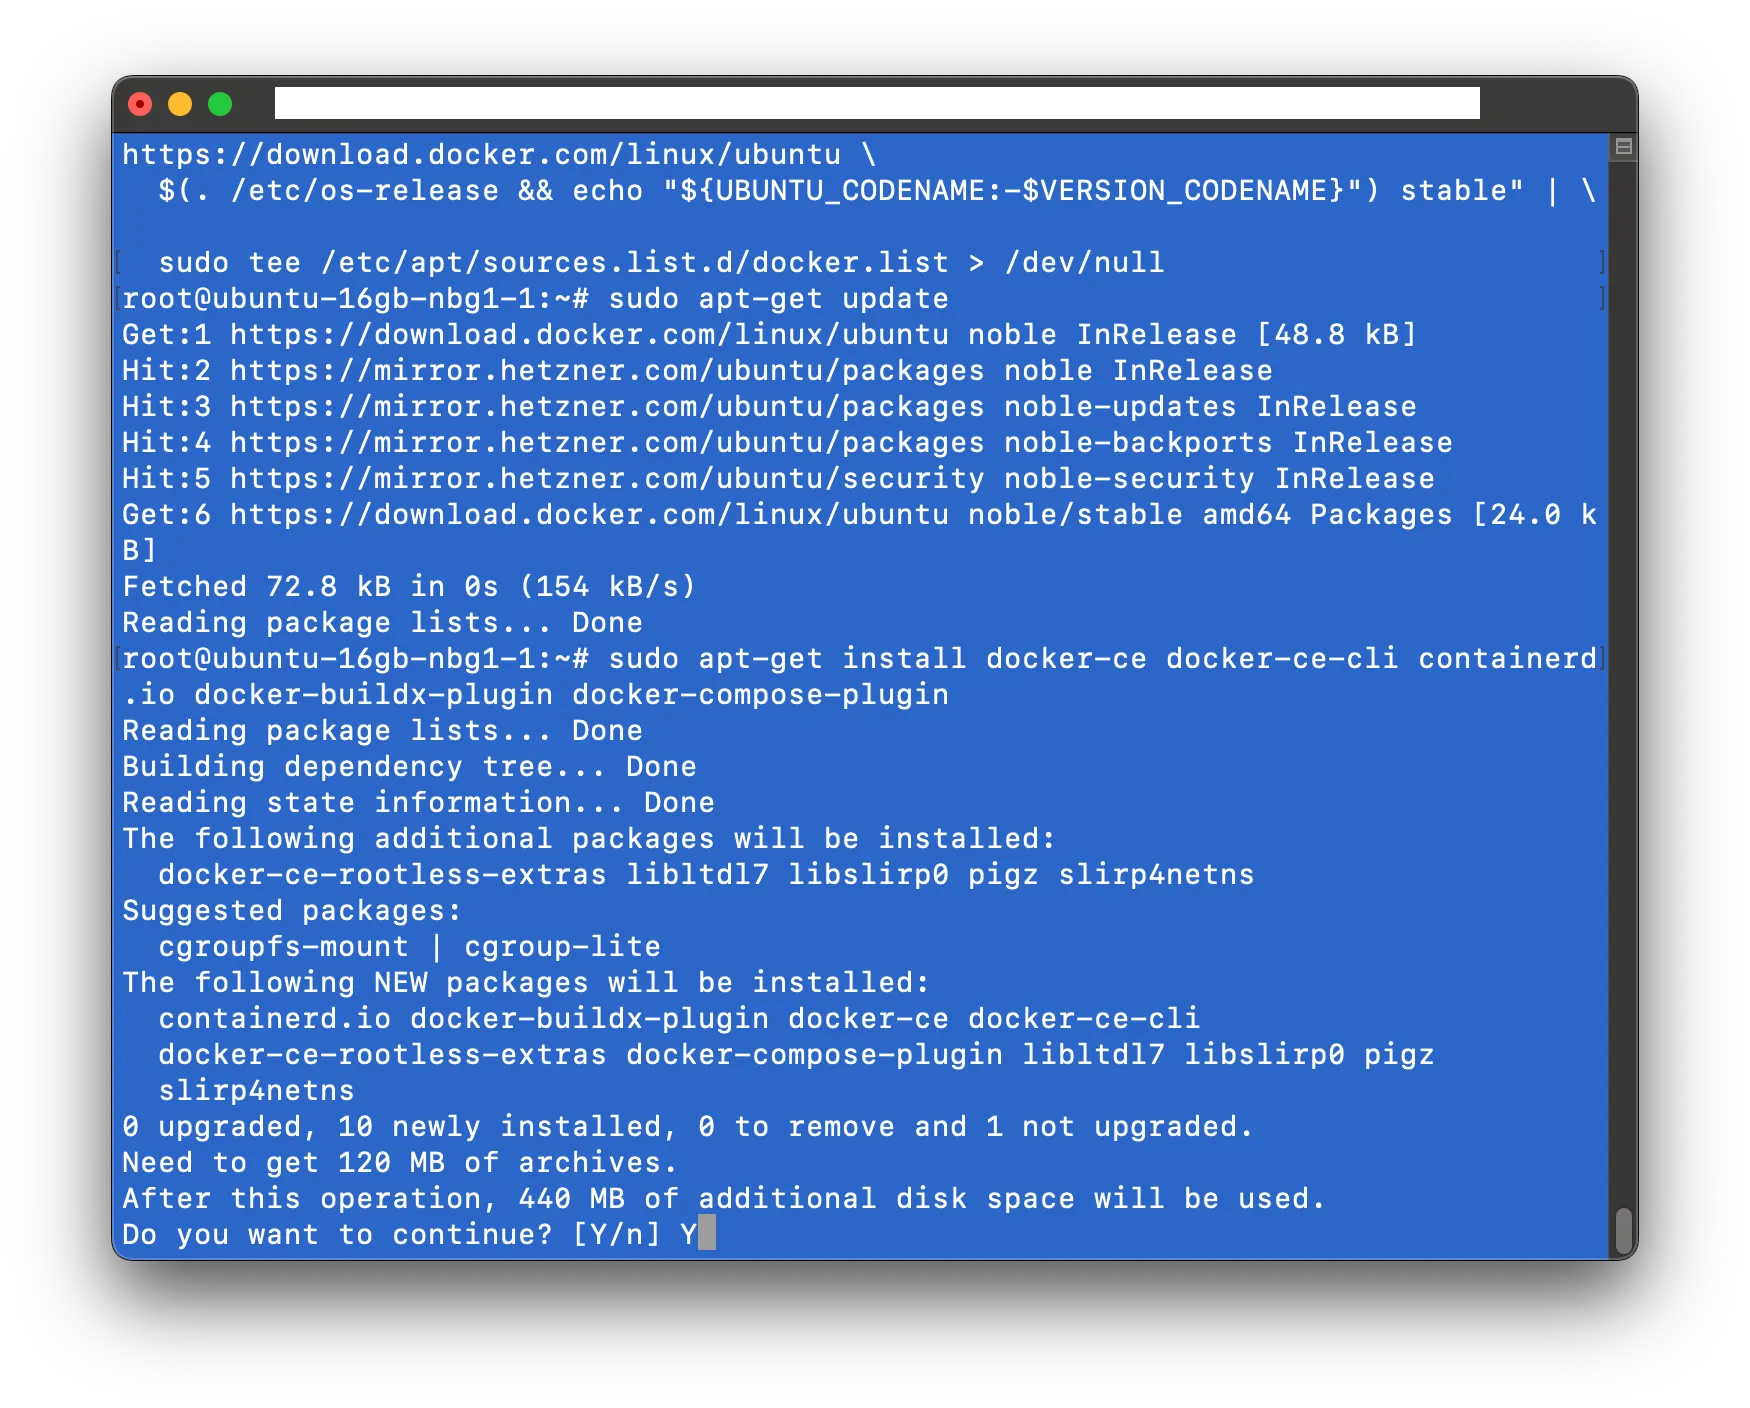
-
Verify Docker installation:
sudo docker run hello-world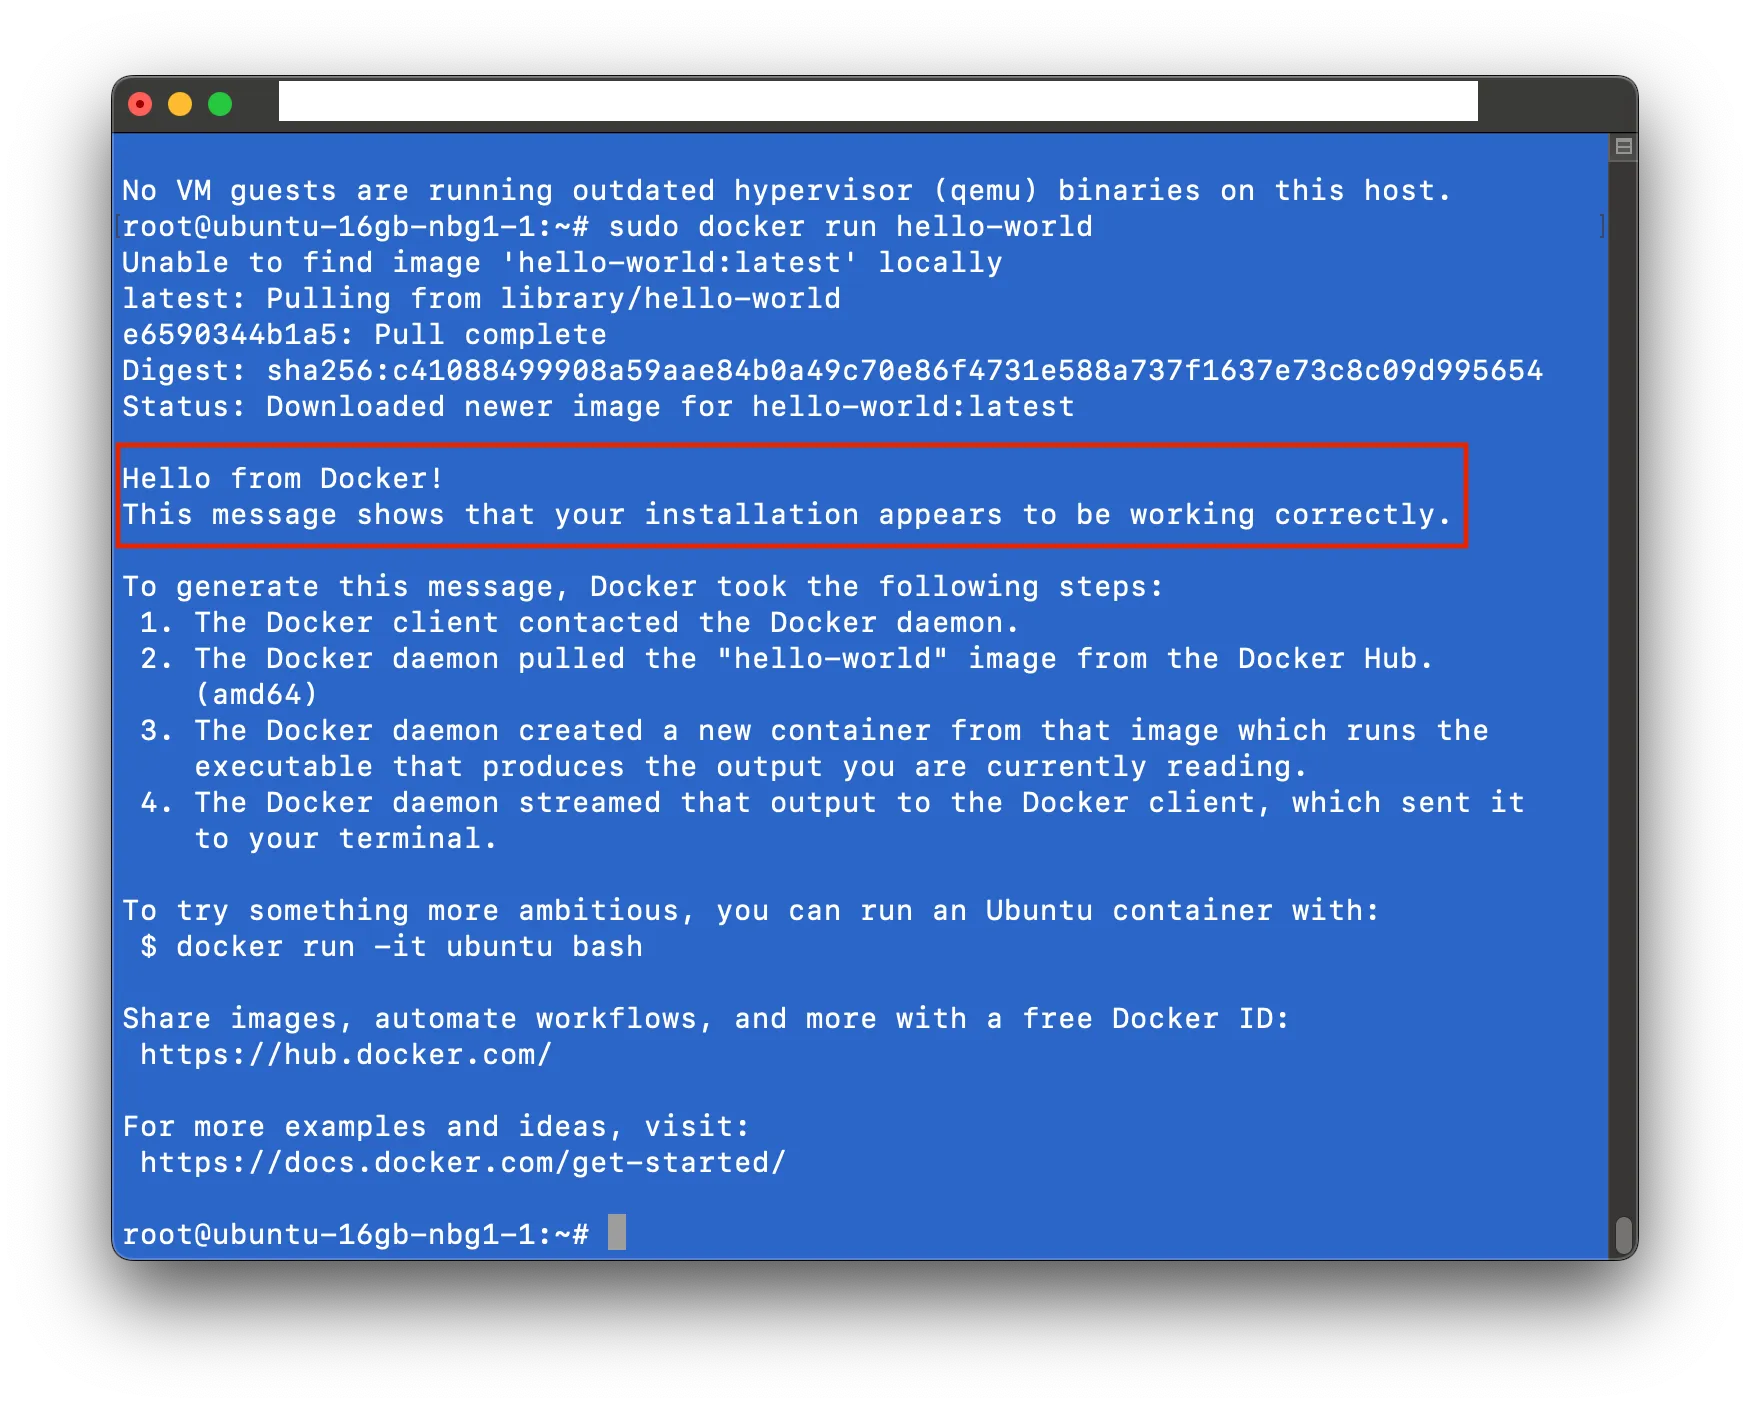
-
Install the Taraxa lite node:
 mkdir ~/mainnet
 cd ~/mainnet
 wget https://raw.githubusercontent.com/Taraxa-project/taraxa-ops/master/taraxa_compose_mainnet/docker-compose.light.yml -O docker-compose.yml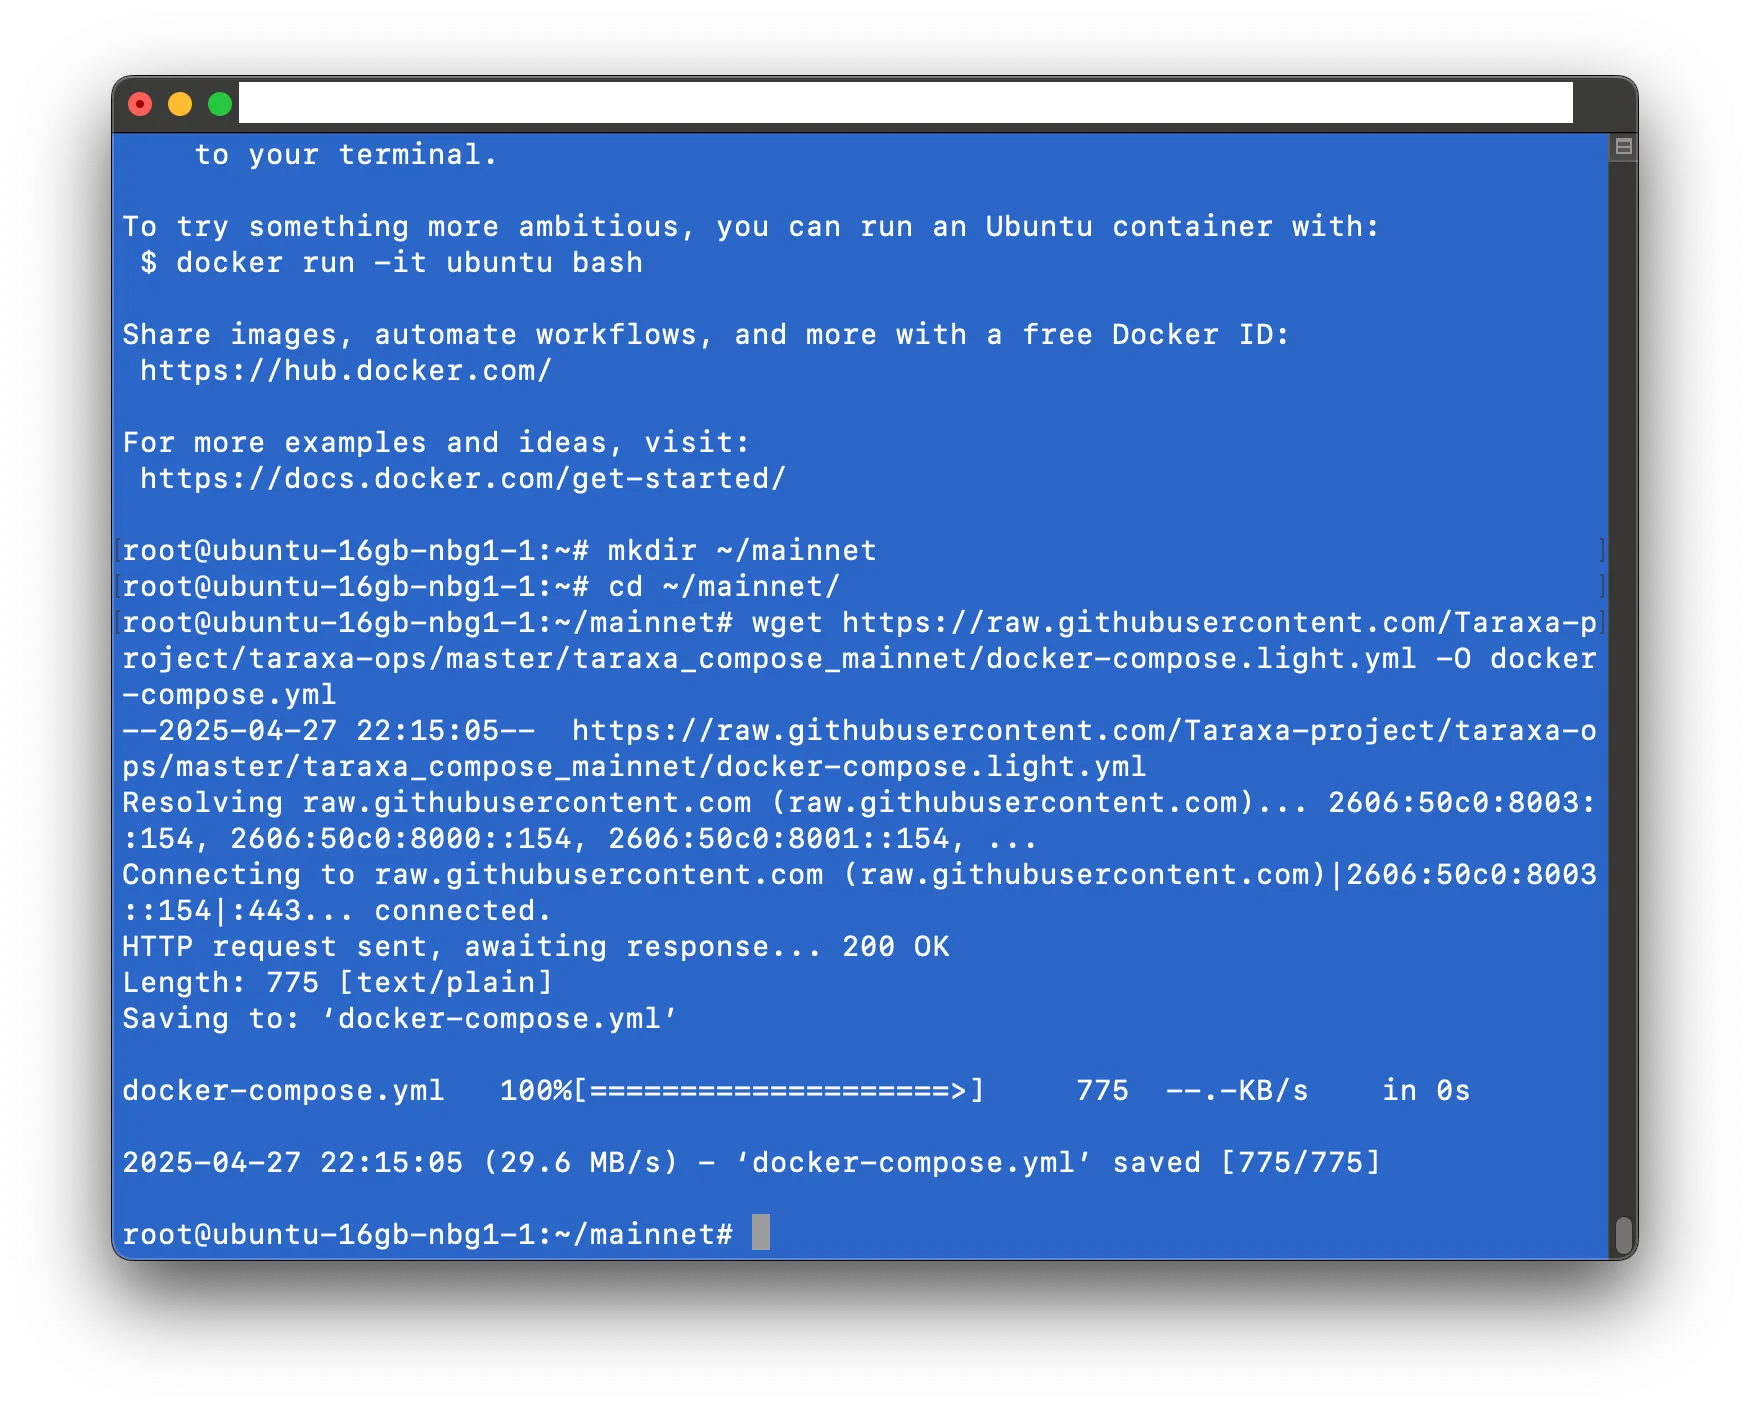
docker compose up -d
docker compose logs -f -n 100 node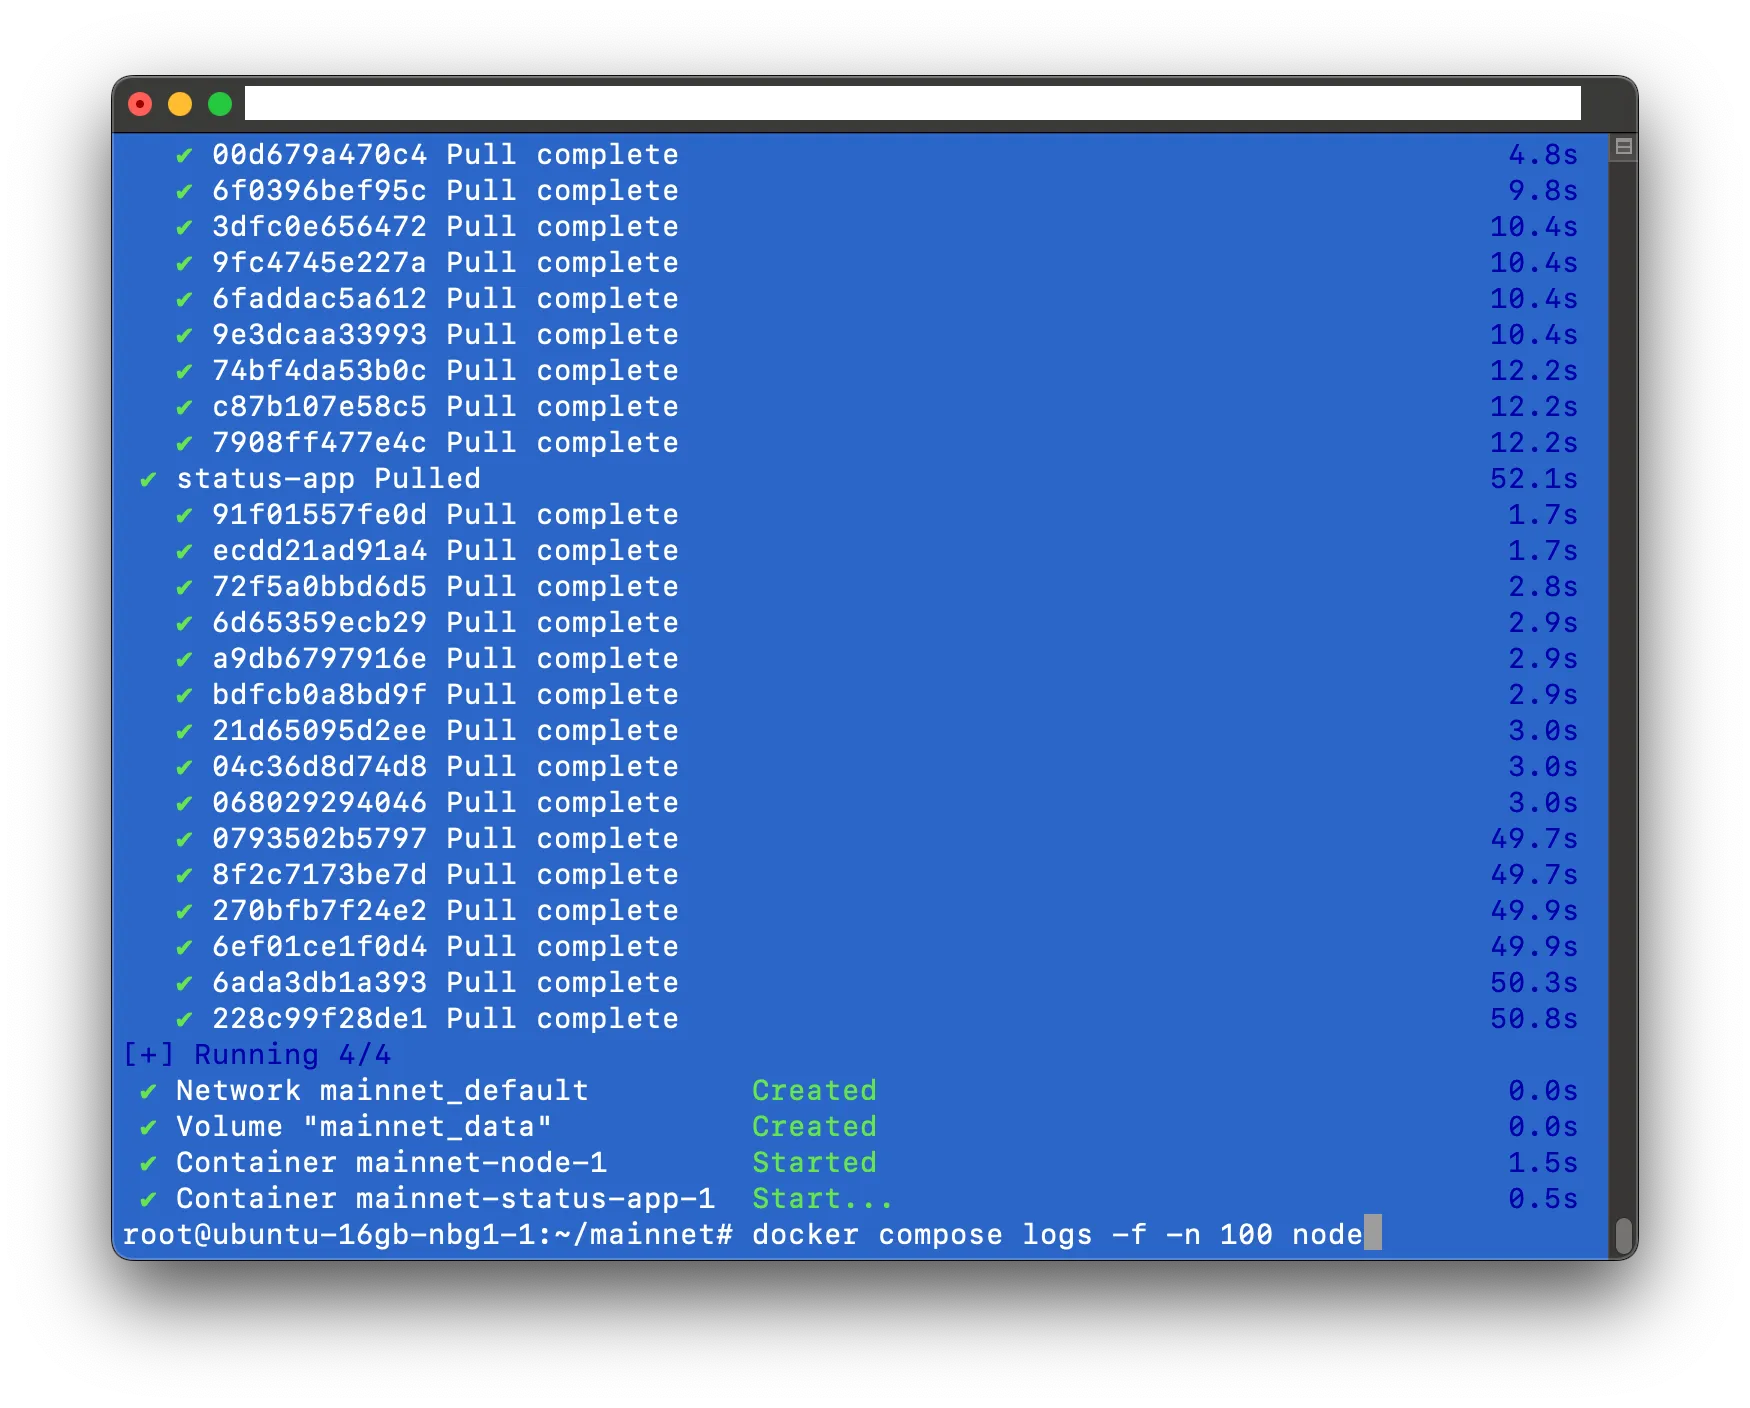
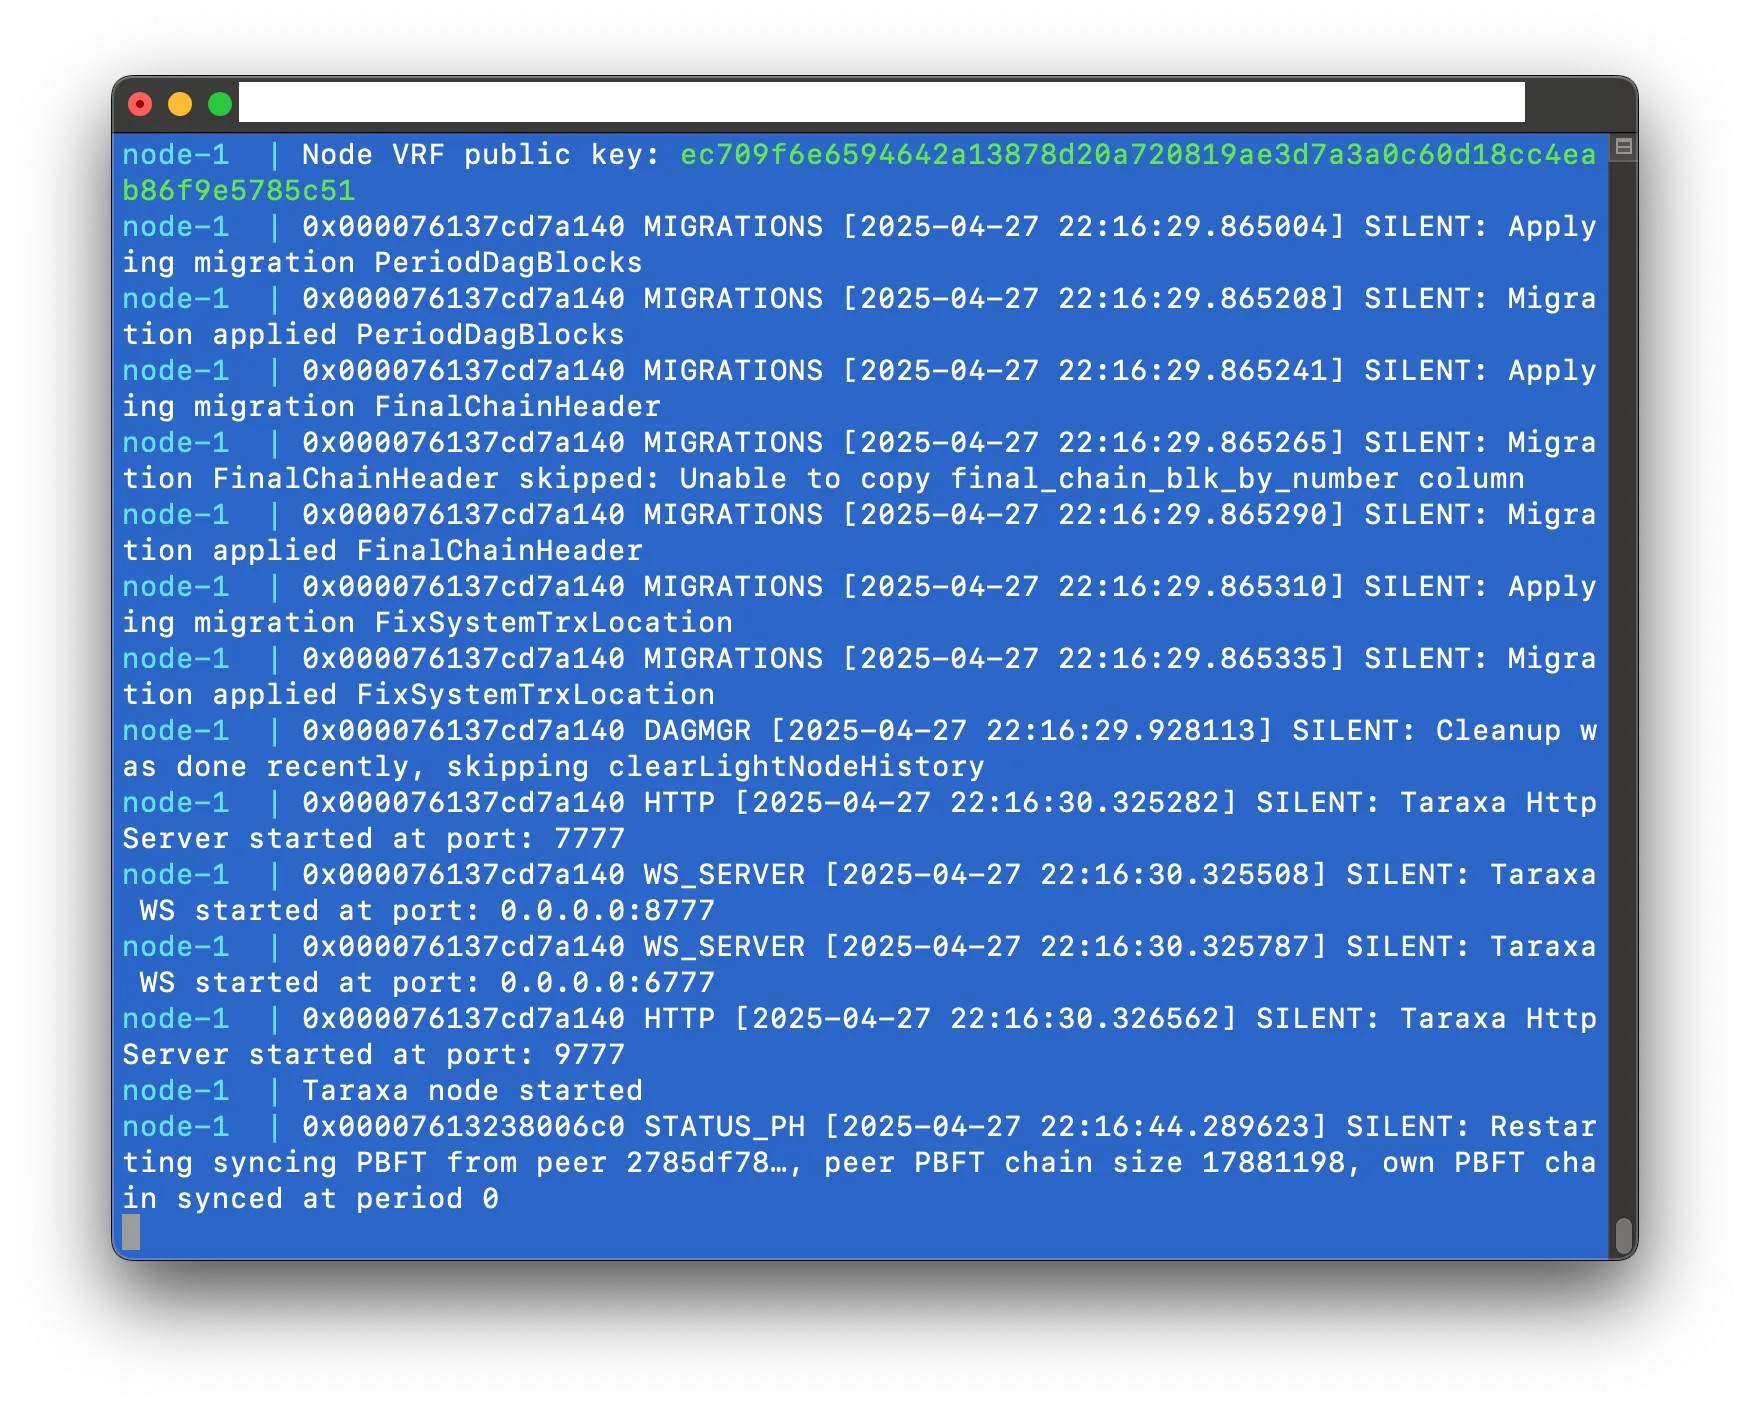
Press
CTRL+Cto exit the logs. -
Validate the RPC endpoint:
curl -X POST http://localhost:7777 --data '{"jsonrpc":"2.0","method":"taraxa_getVersion","params":[],"id":1}'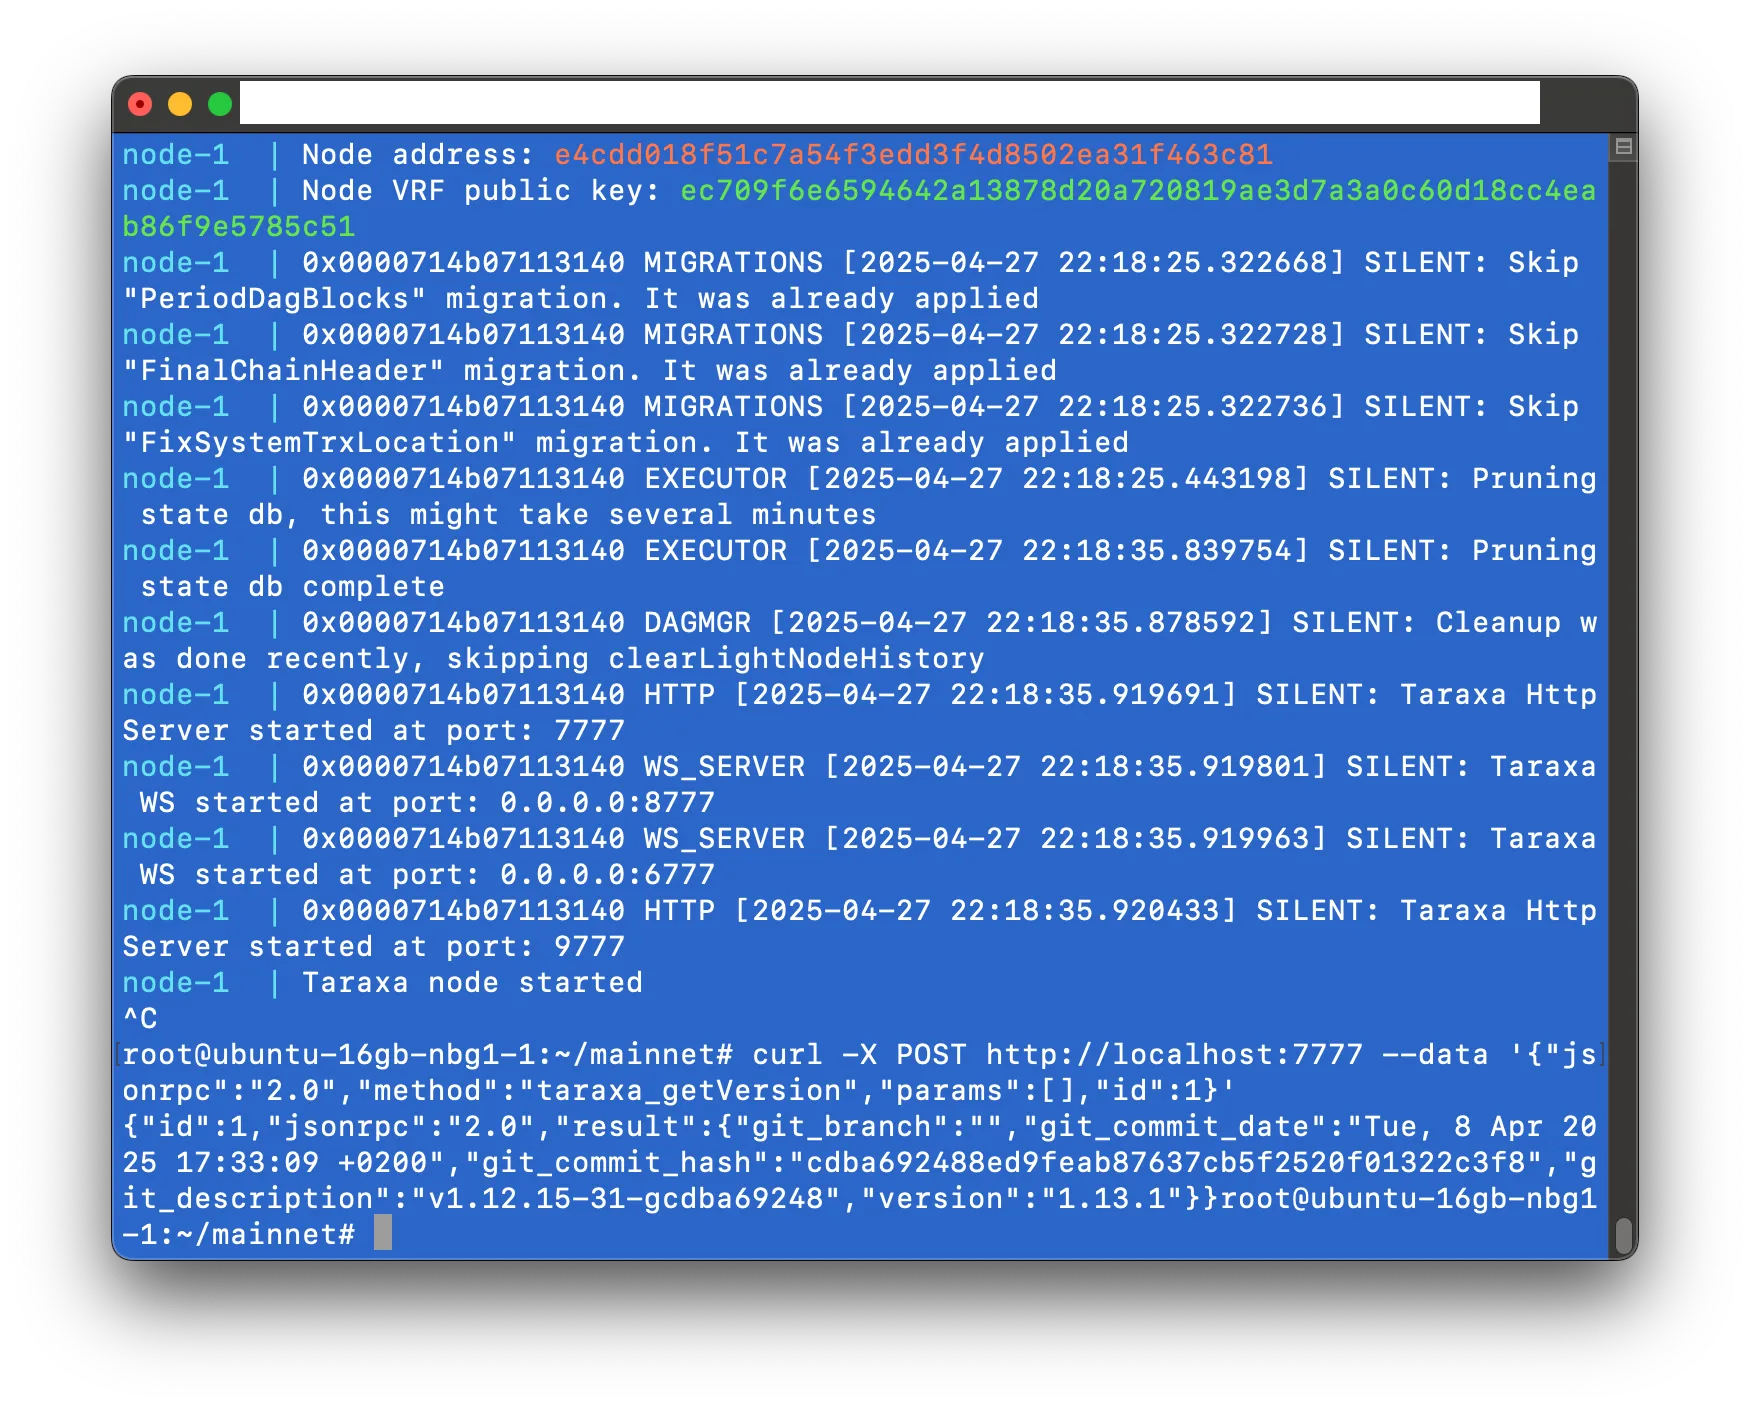
-
Install the latest database snapshot to speed up synchronization. Note that some commands may take a while to complete:
 docker compose down
 docker run --rm -it -v mainnet_data:/data alpine sh
 cd /data/db
 rm -r db state_db
 wget http://snapshots.cryptobauer.com/snapshot-litenode-latest.tar.gz
 tar xzf snapshot-litenode-latest.tar.gz
 rm snapshot-litenode-latest.tar.gz
 exit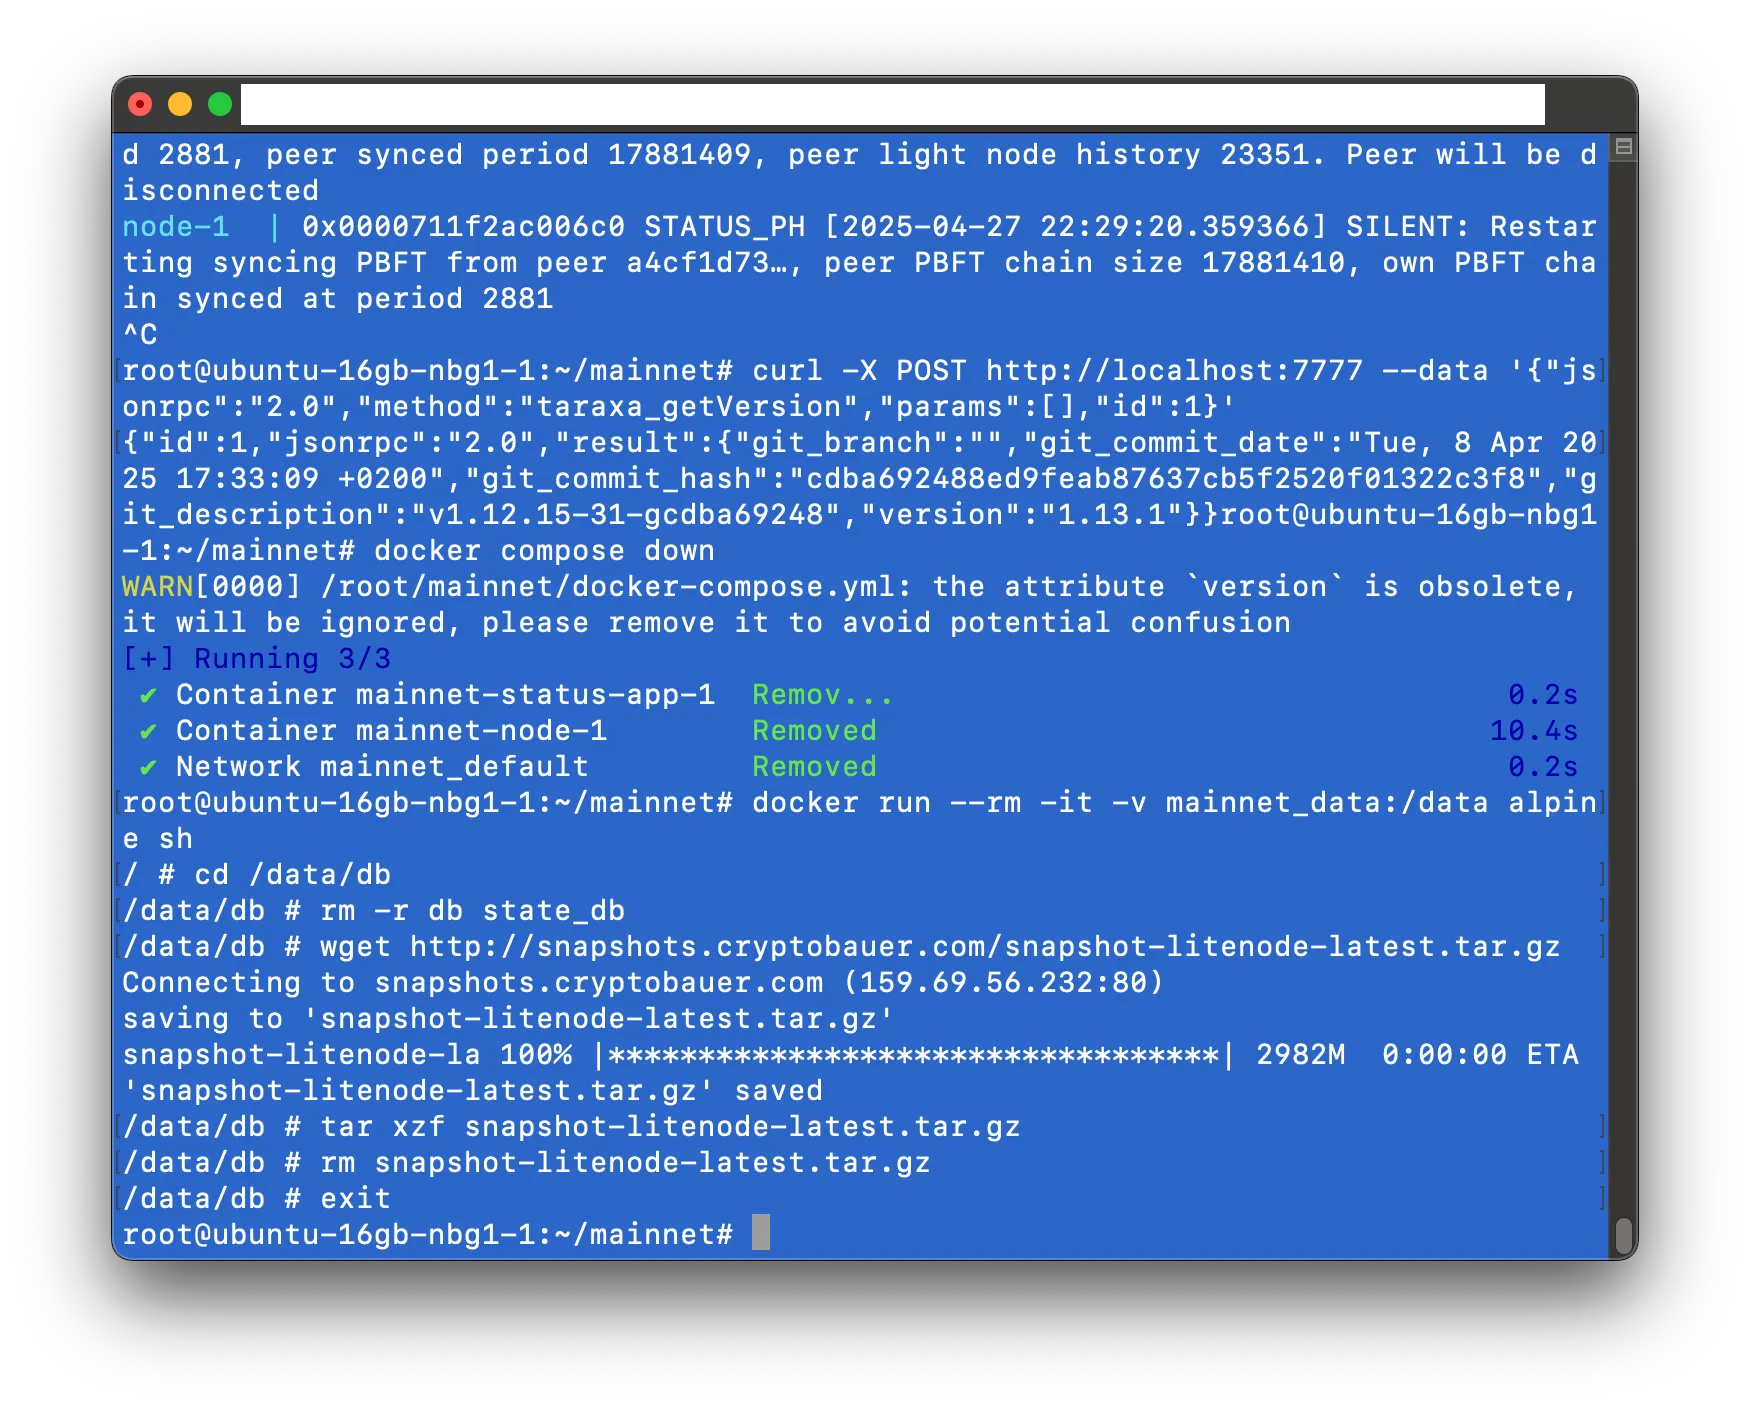
-
Start the node and monitor synchronization:
 docker compose up -d
 docker compose logs -f -n 100 node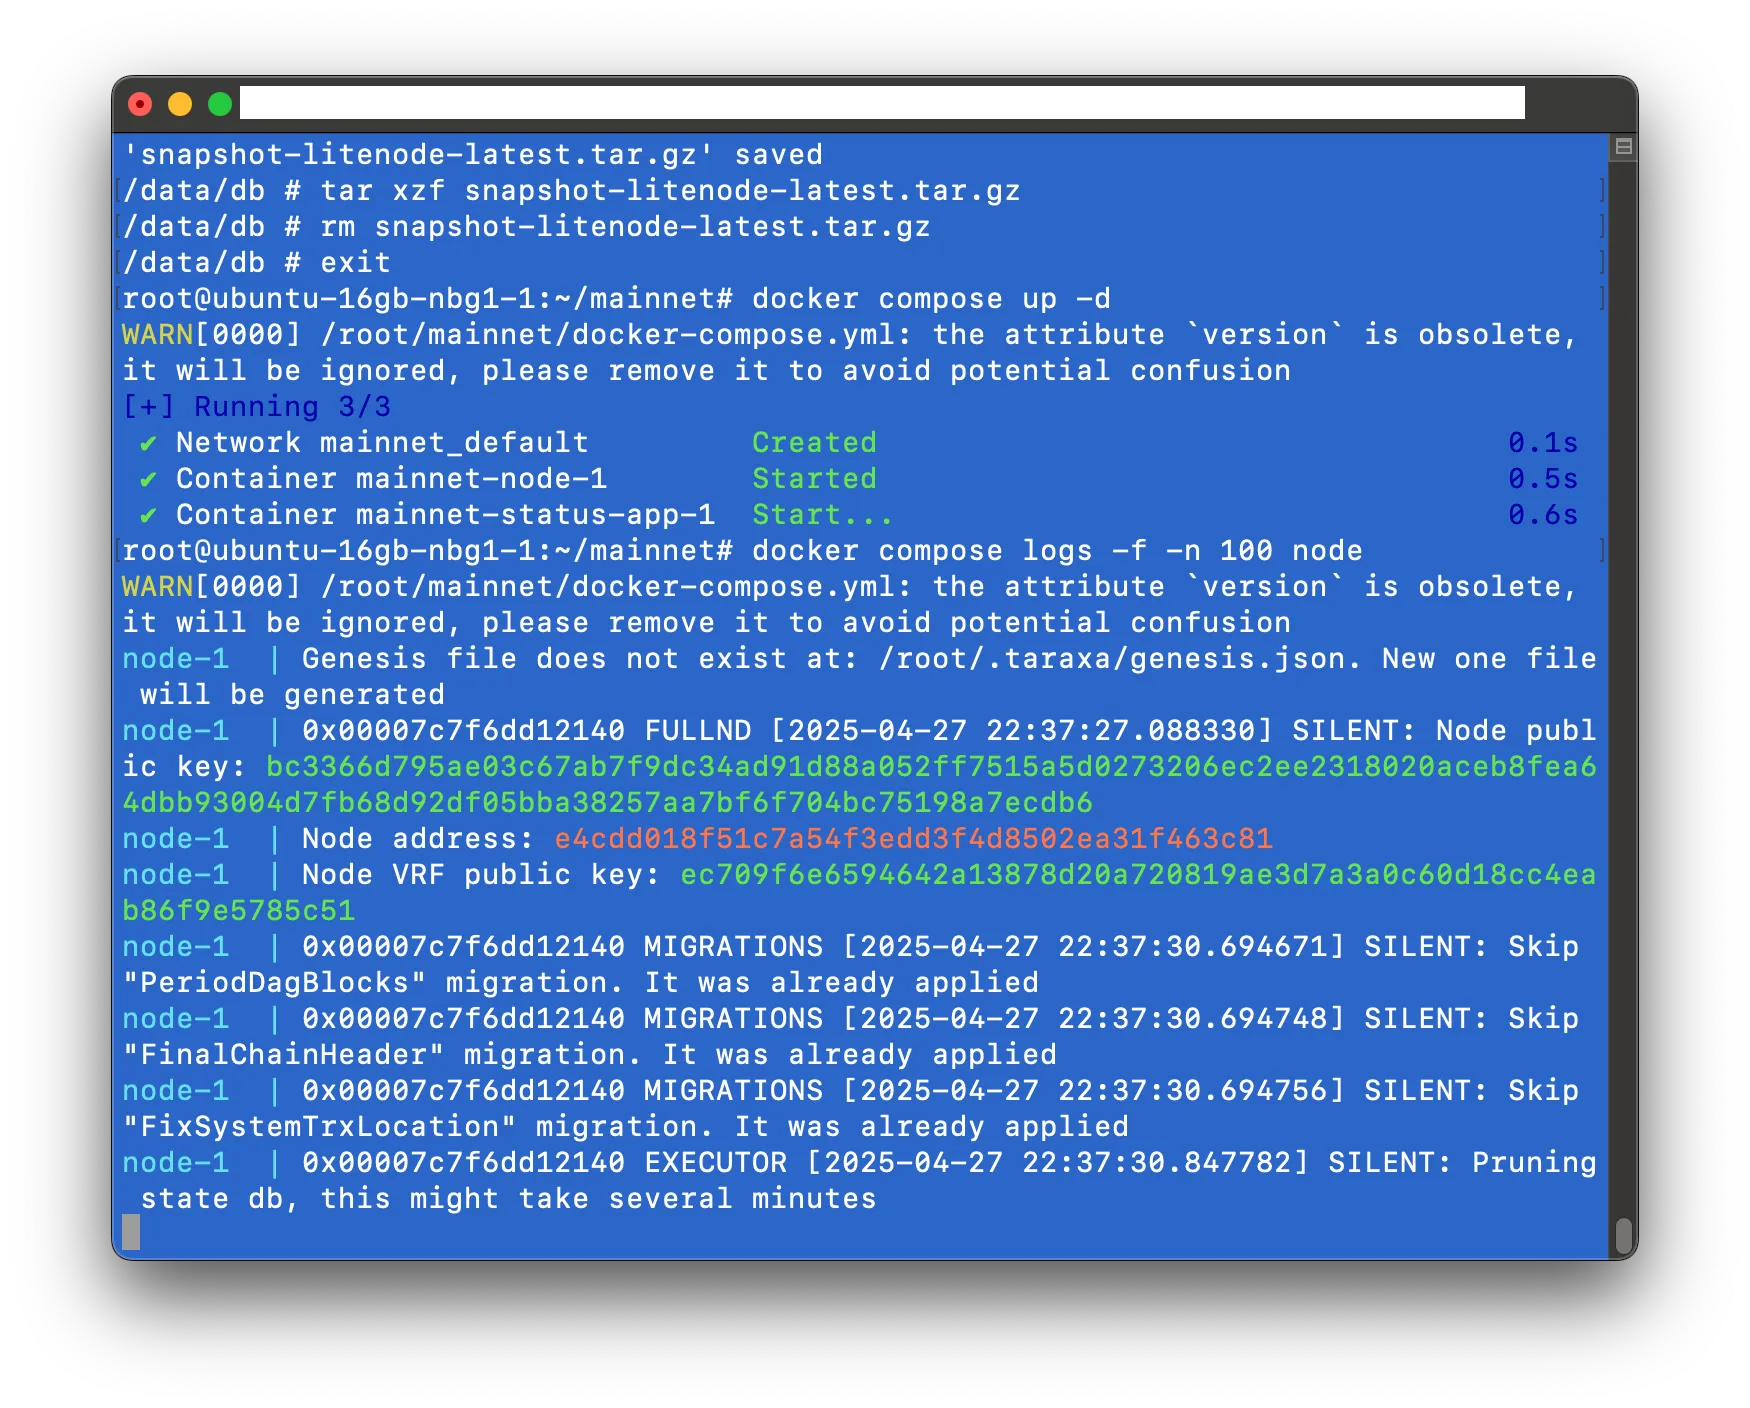
Wait for the
STATUS: GOOD. NODE SYNCEDmessage. (PressCTRL+Cto exit.)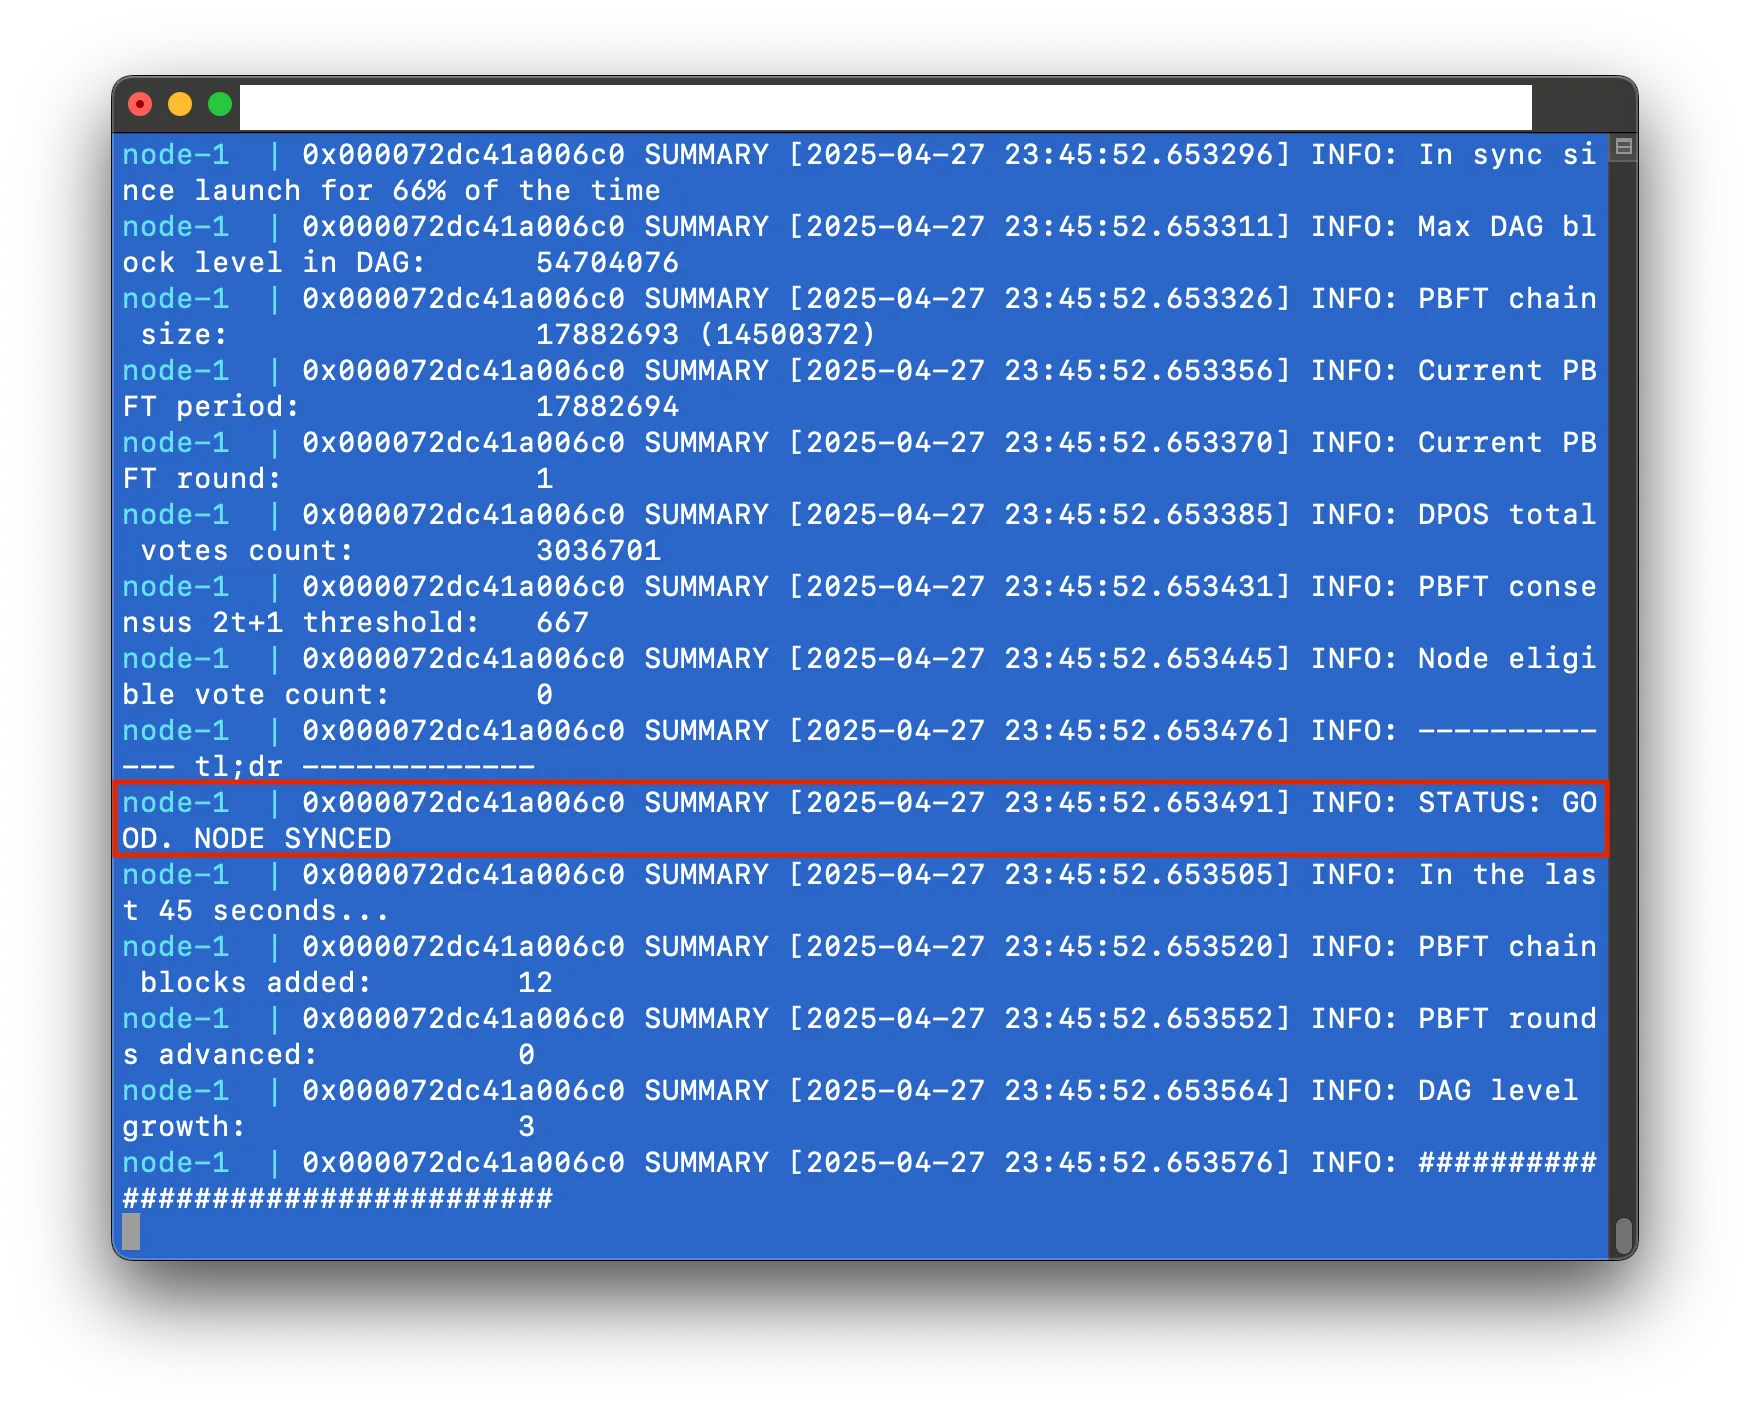
-
Revalidate the RPC endpoint:
curl -X POST http://localhost:7777 --data '{"jsonrpc":"2.0","method":"taraxa_getVersion","params":[],"id":1}'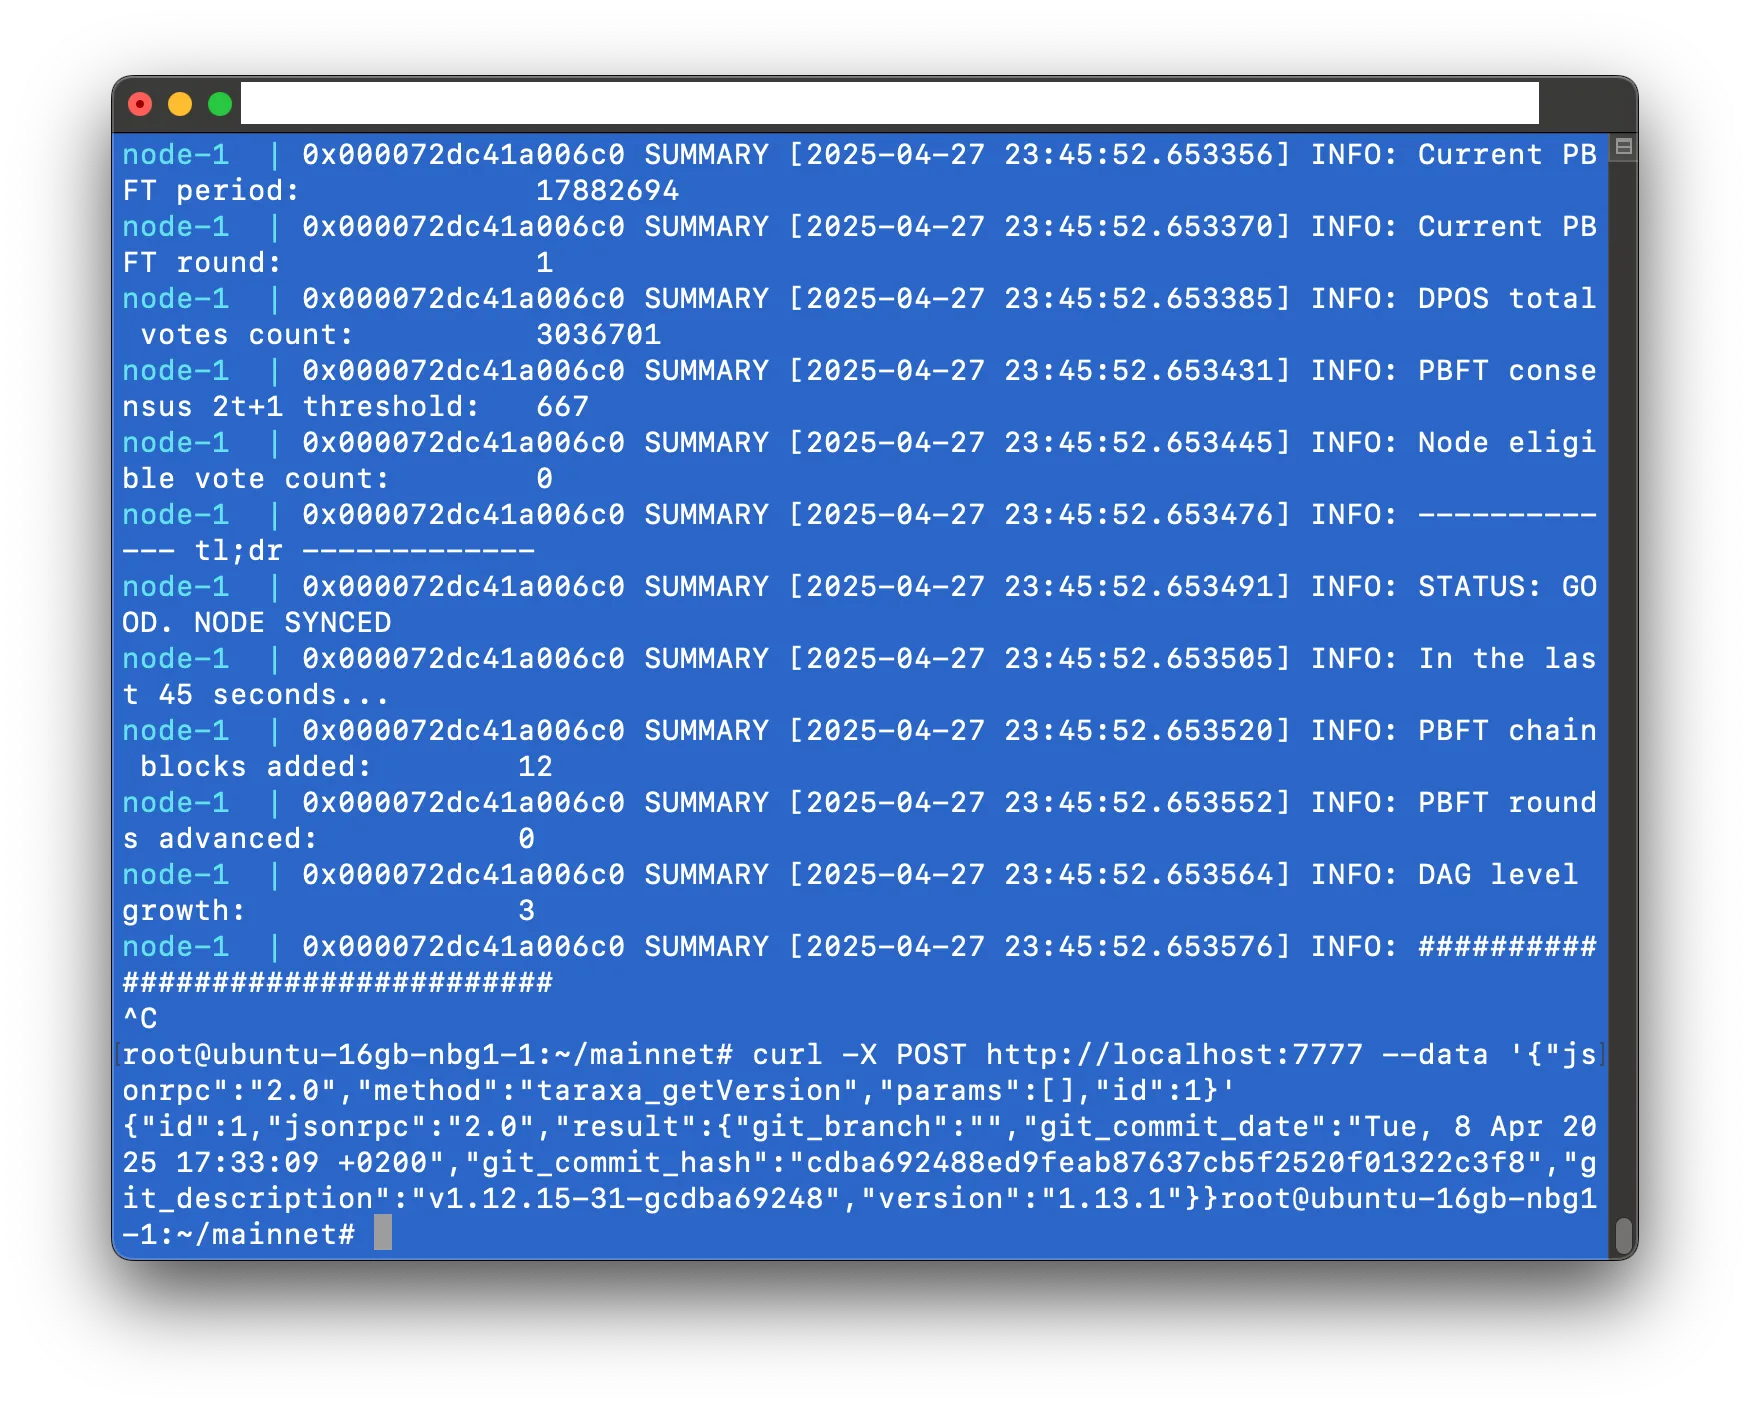
-
Optional: Test the RPC endpoint using the provided Javascript program. This test should ideally be performed from your local laptop or desktop, not the cloud instance, to ensure the RPC endpoint is accessible externally. It requires Node.js to be installed on you local laptop or desktop.
Replace
<IP_ADDRESS>with your cloud instance’s public IP address (see step 1.):import { ethers } from 'ethers'; async function printTaraxaVersion() { const rpcUrl = 'http://<IP_ADDRESS>:7777'; const provider = new ethers.JsonRpcProvider(rpcUrl); try { const version = await provider.send('taraxa_getVersion', []); console.log('Response from Taraxa RPC node:', version); } catch (error) { console.error('Error interacting with Taraxa RPC node:', error); } } printTaraxaVersion();Then run on your local laptop or desktop:
 npm install ethers
 node taraxa-rpc-test.js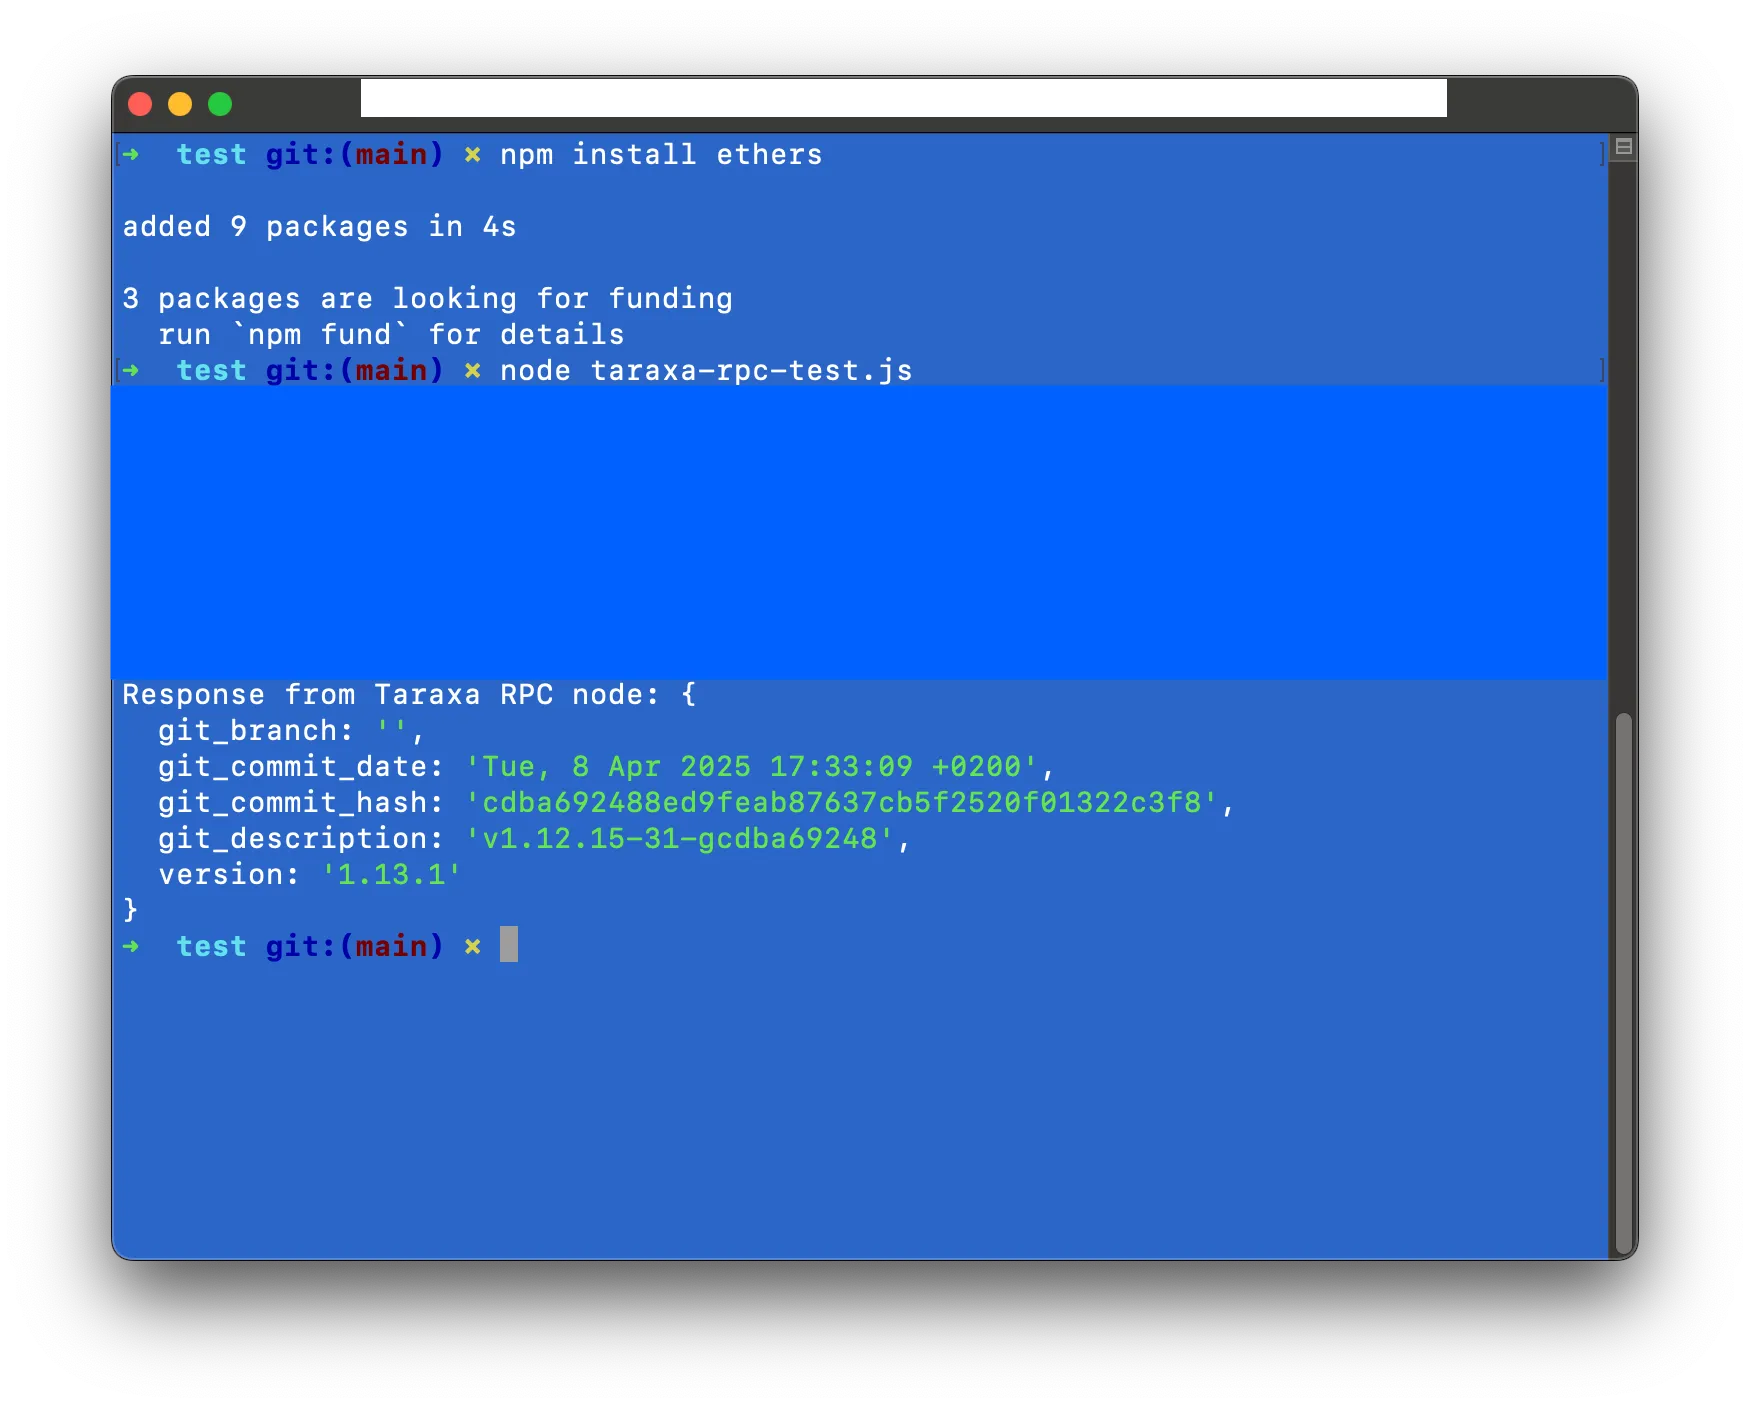
Congratulations! Your Taraxa RPC node is now installed and ready to interact with the network and your applications.