Detailed Windows Desktop Instructions
The following instructions detail how to set up a Taraxa lite node RPC node on a Windows desktop.
-
Install Docker Desktop by following the installation guide.
Download the Docker version for Windows.
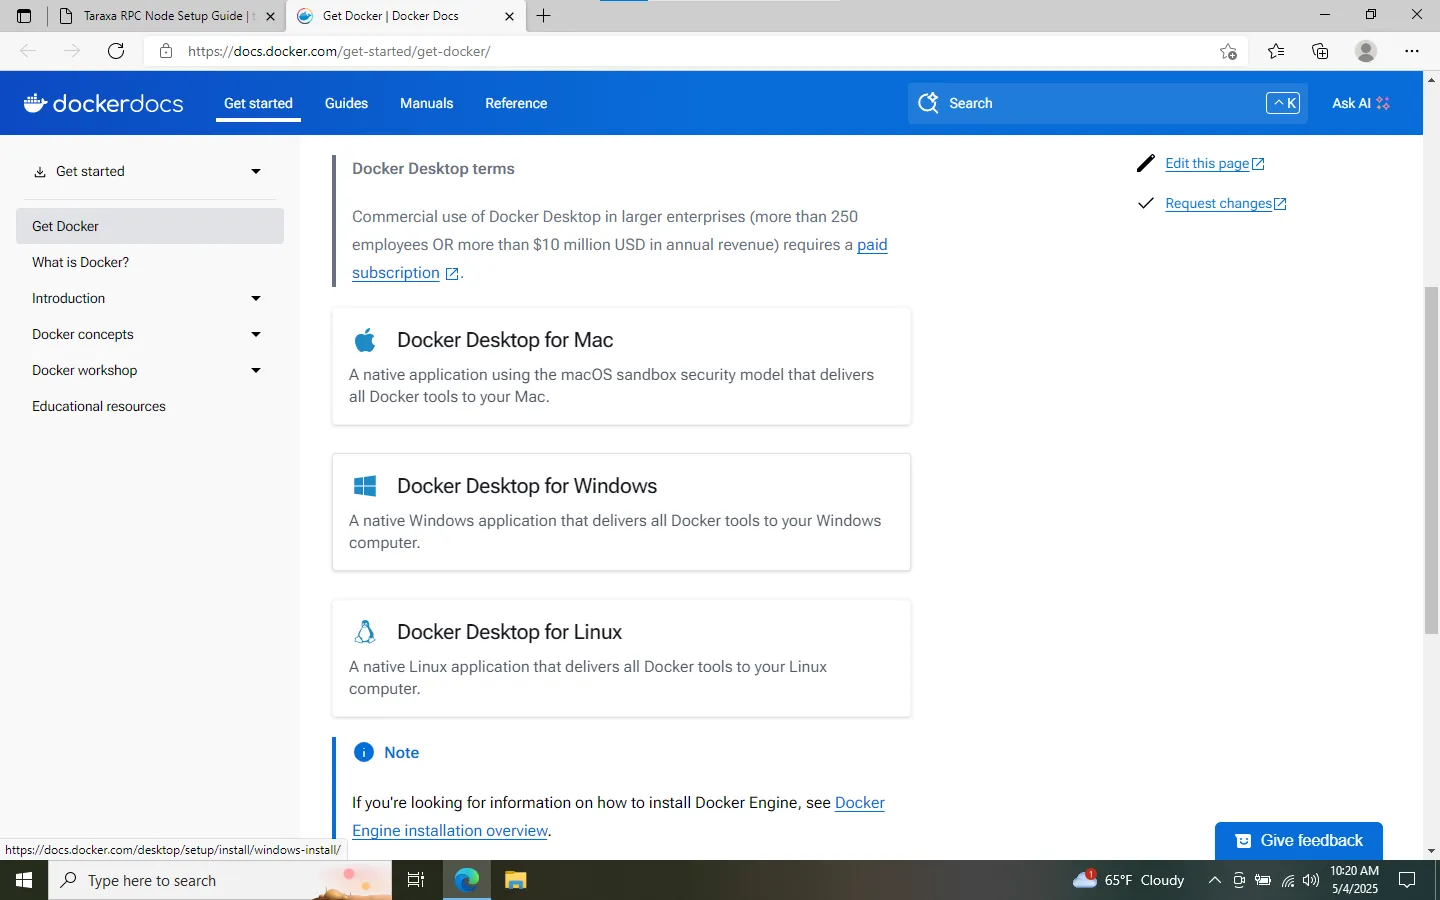
Download either
x86_64orArmversion depending on your system. Most systems arex86_64.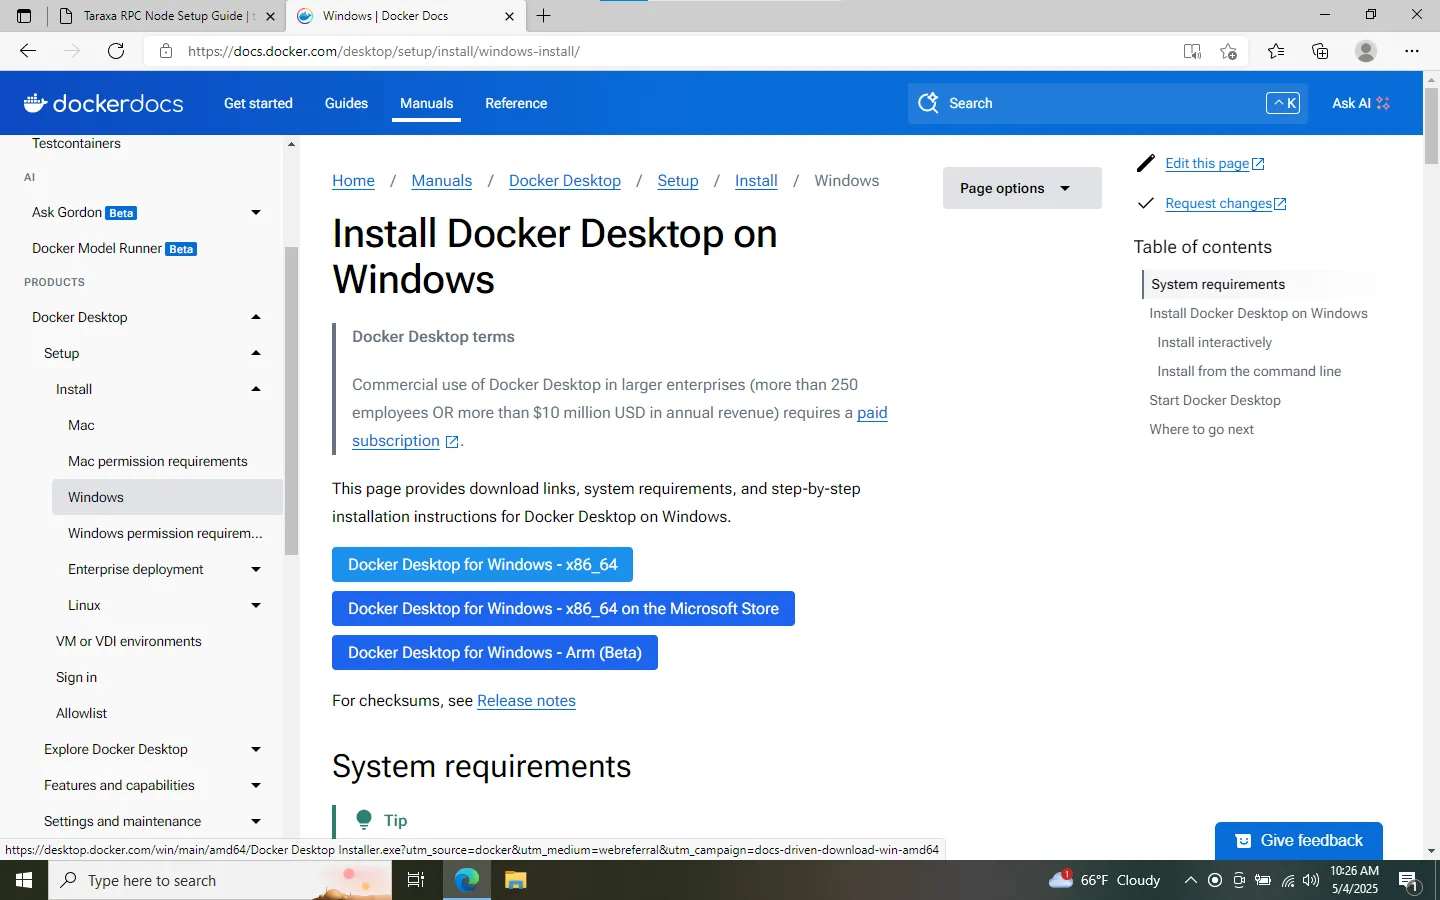
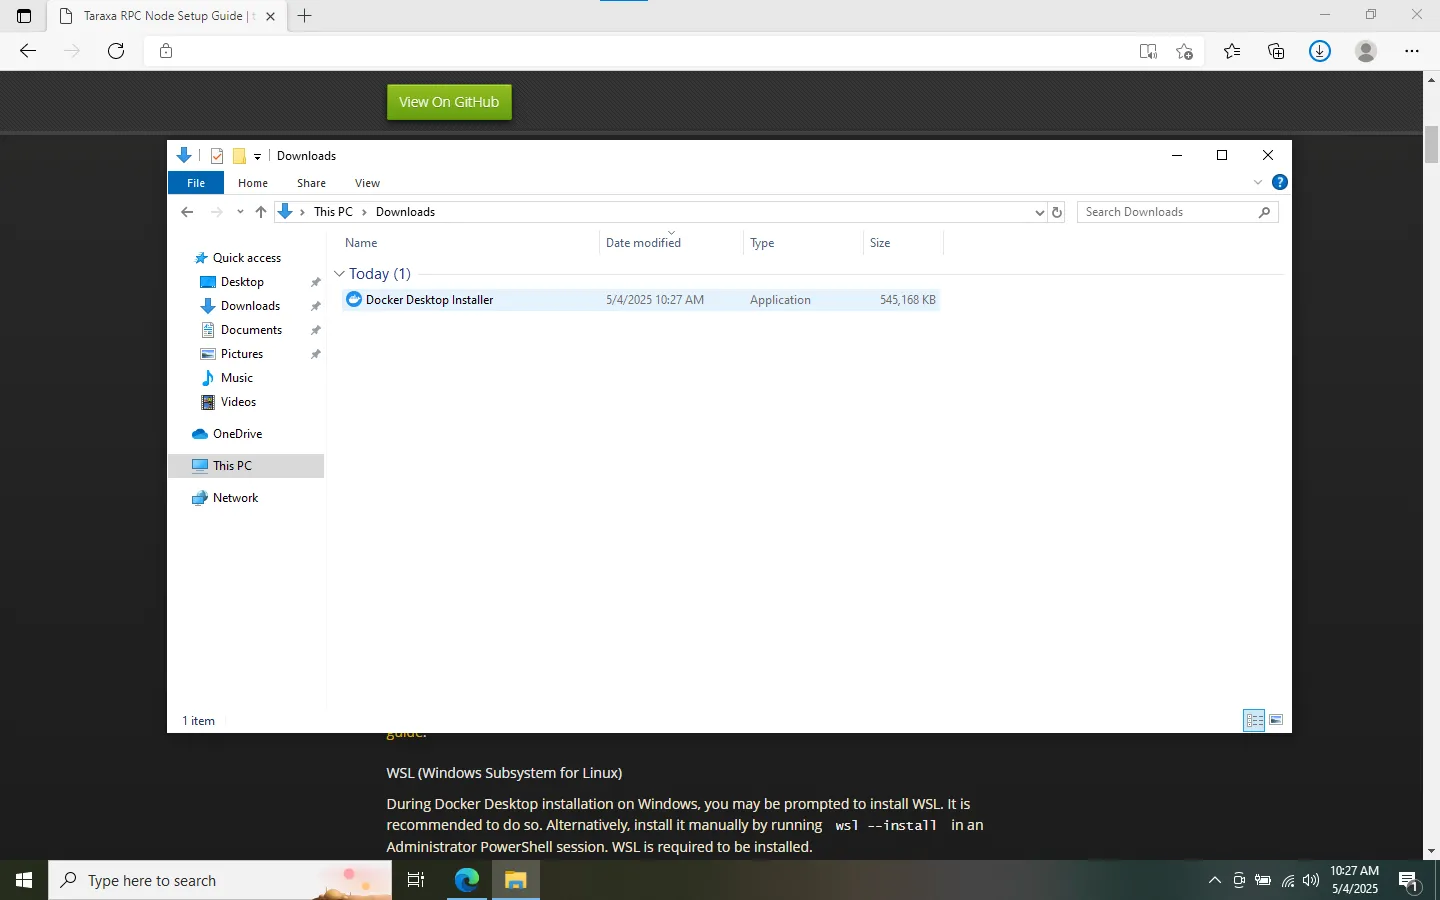
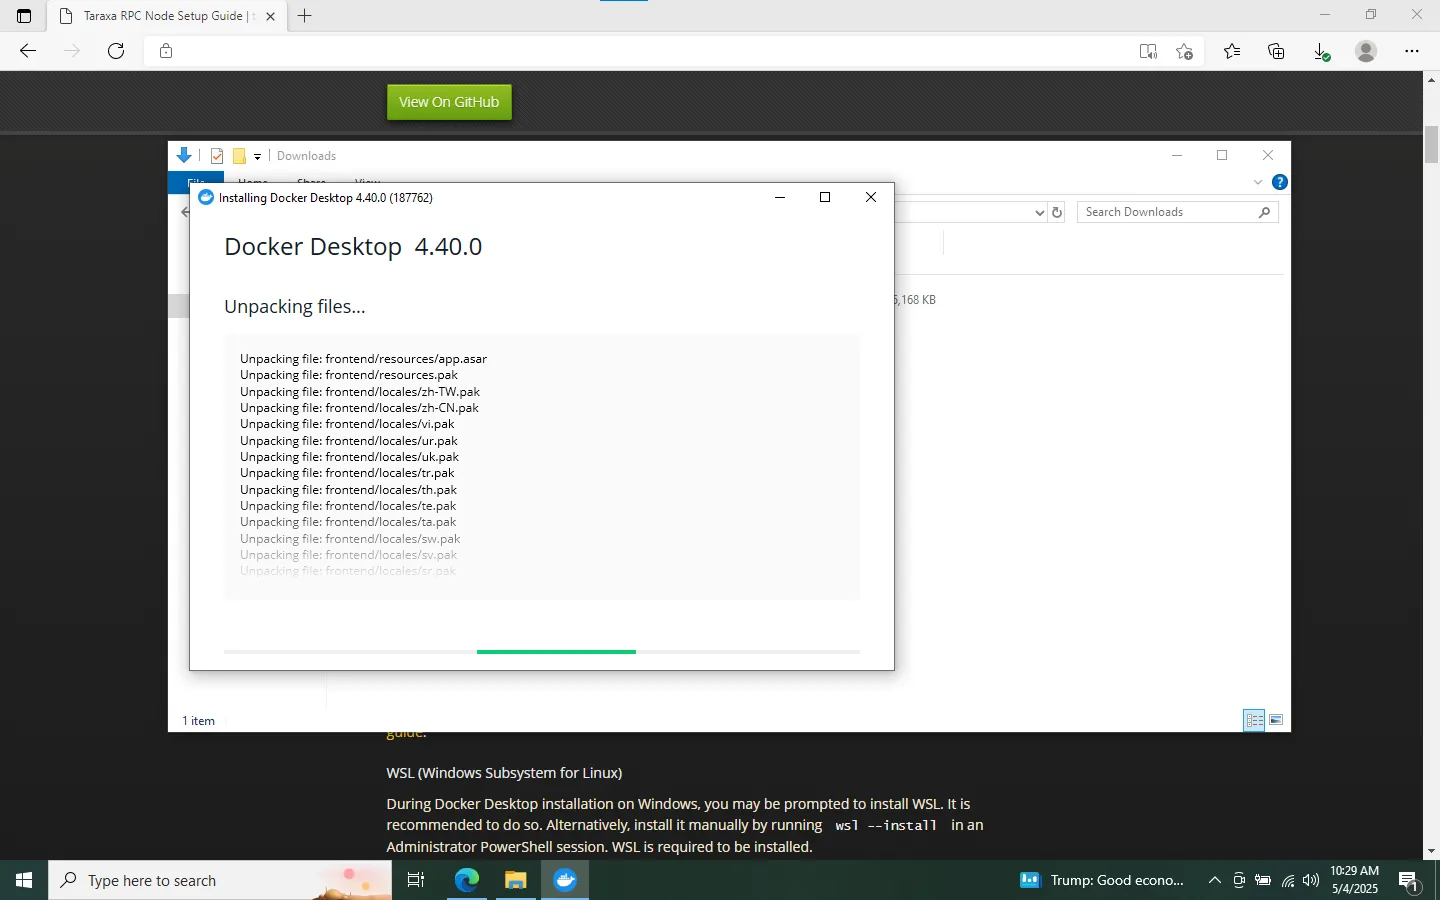
Install Docker Desktop by double-clicking the downloaded file.
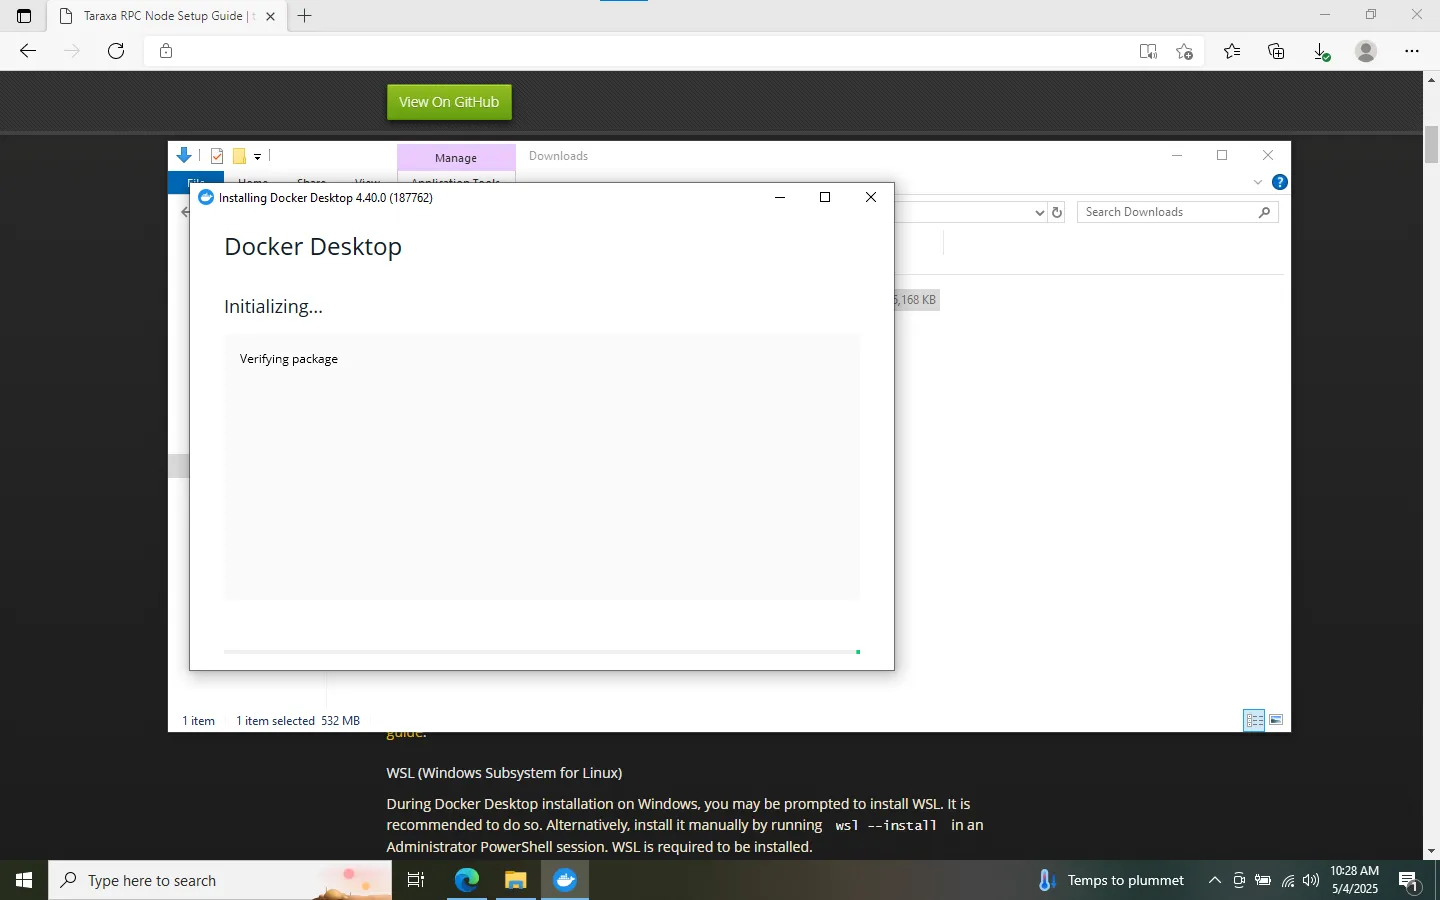
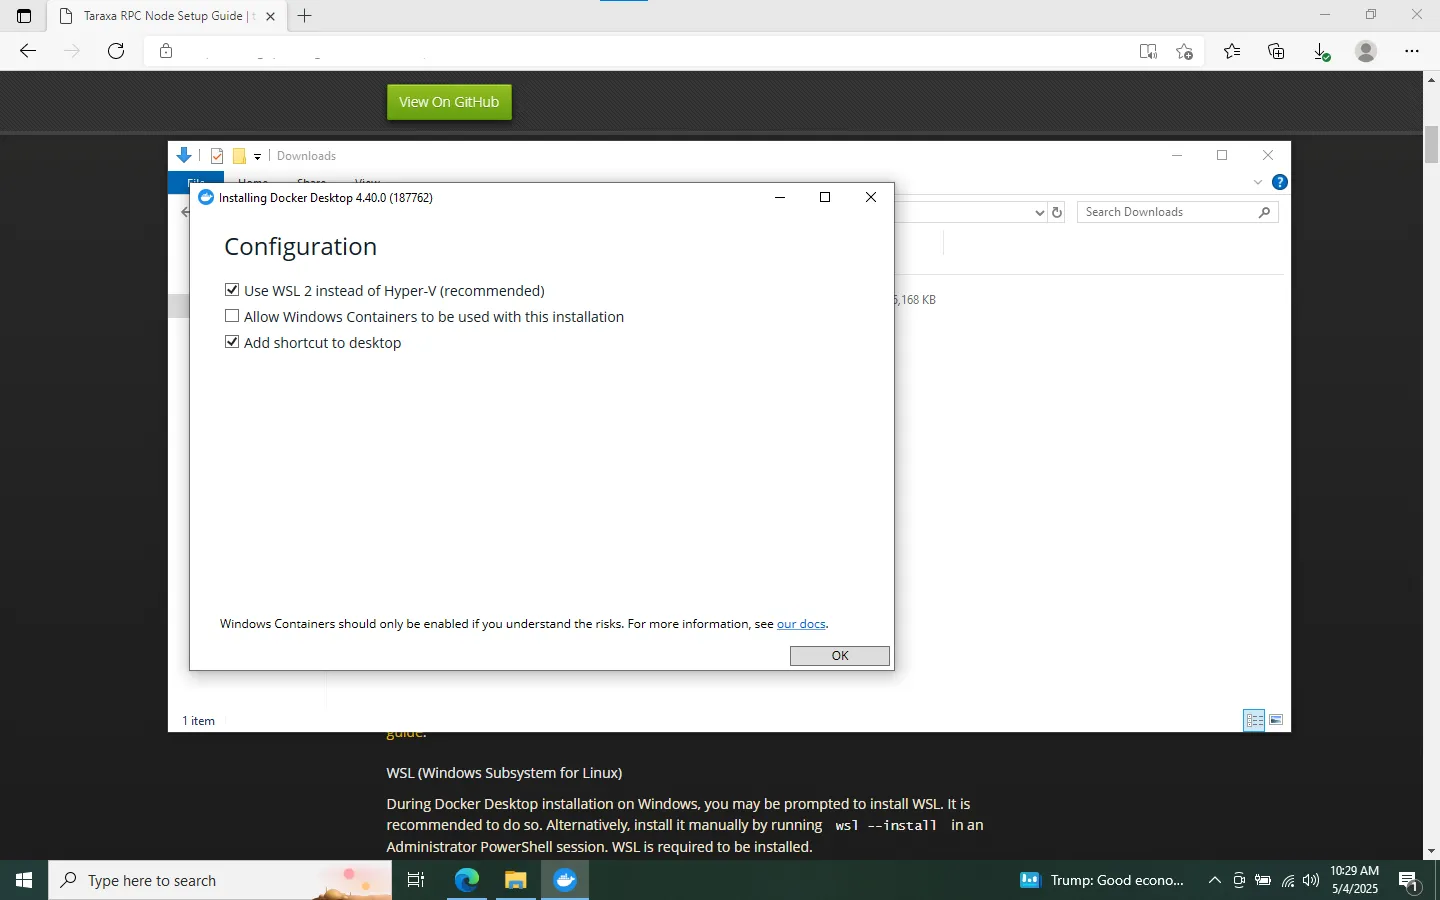
Make sure to check the box to enable WSL2 integration.
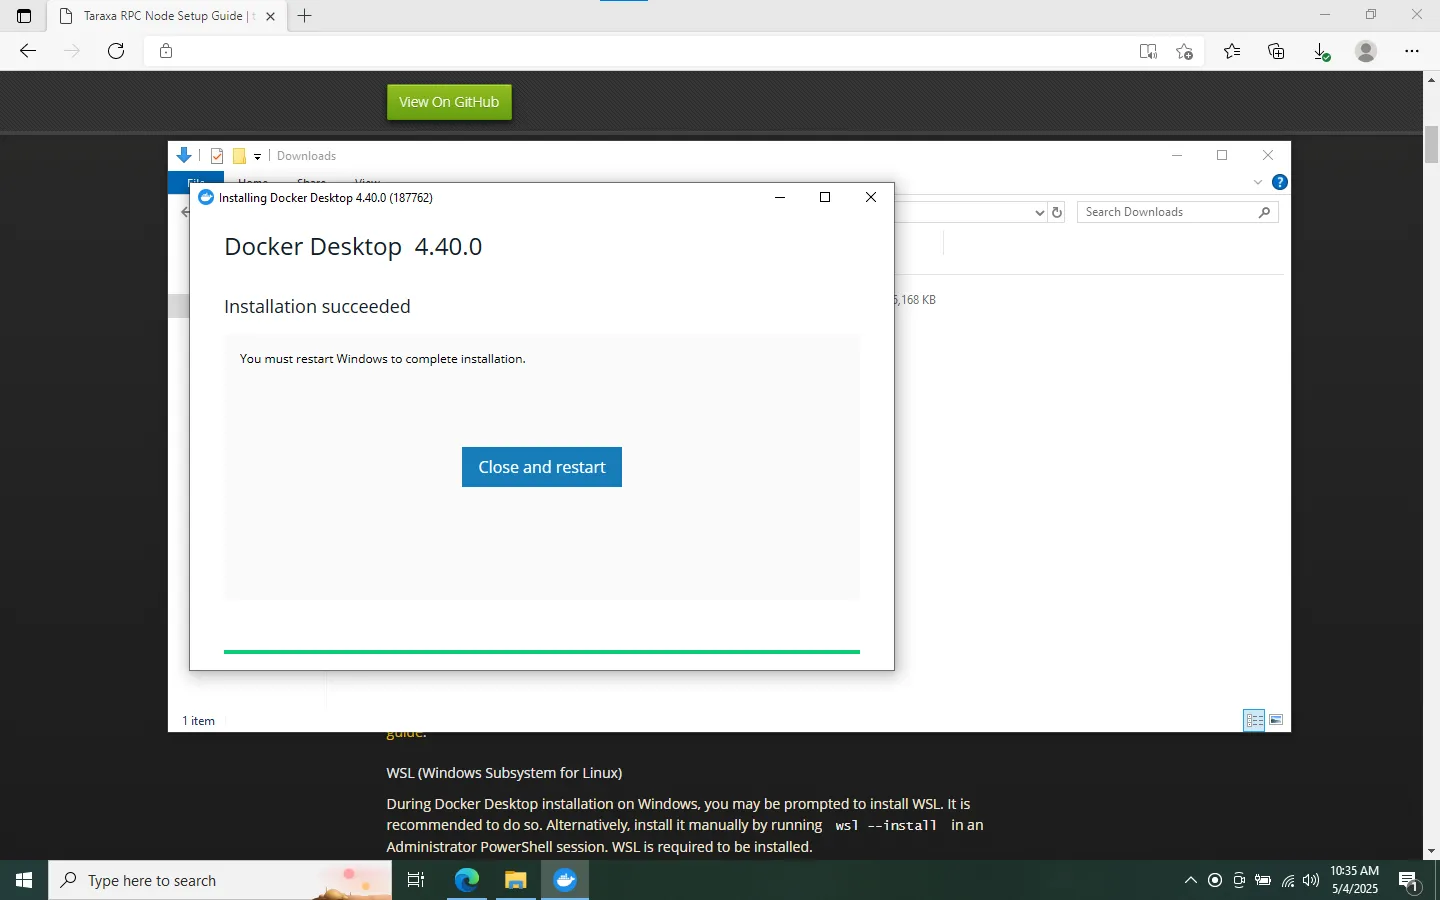
If requested after the installation restart your computer.
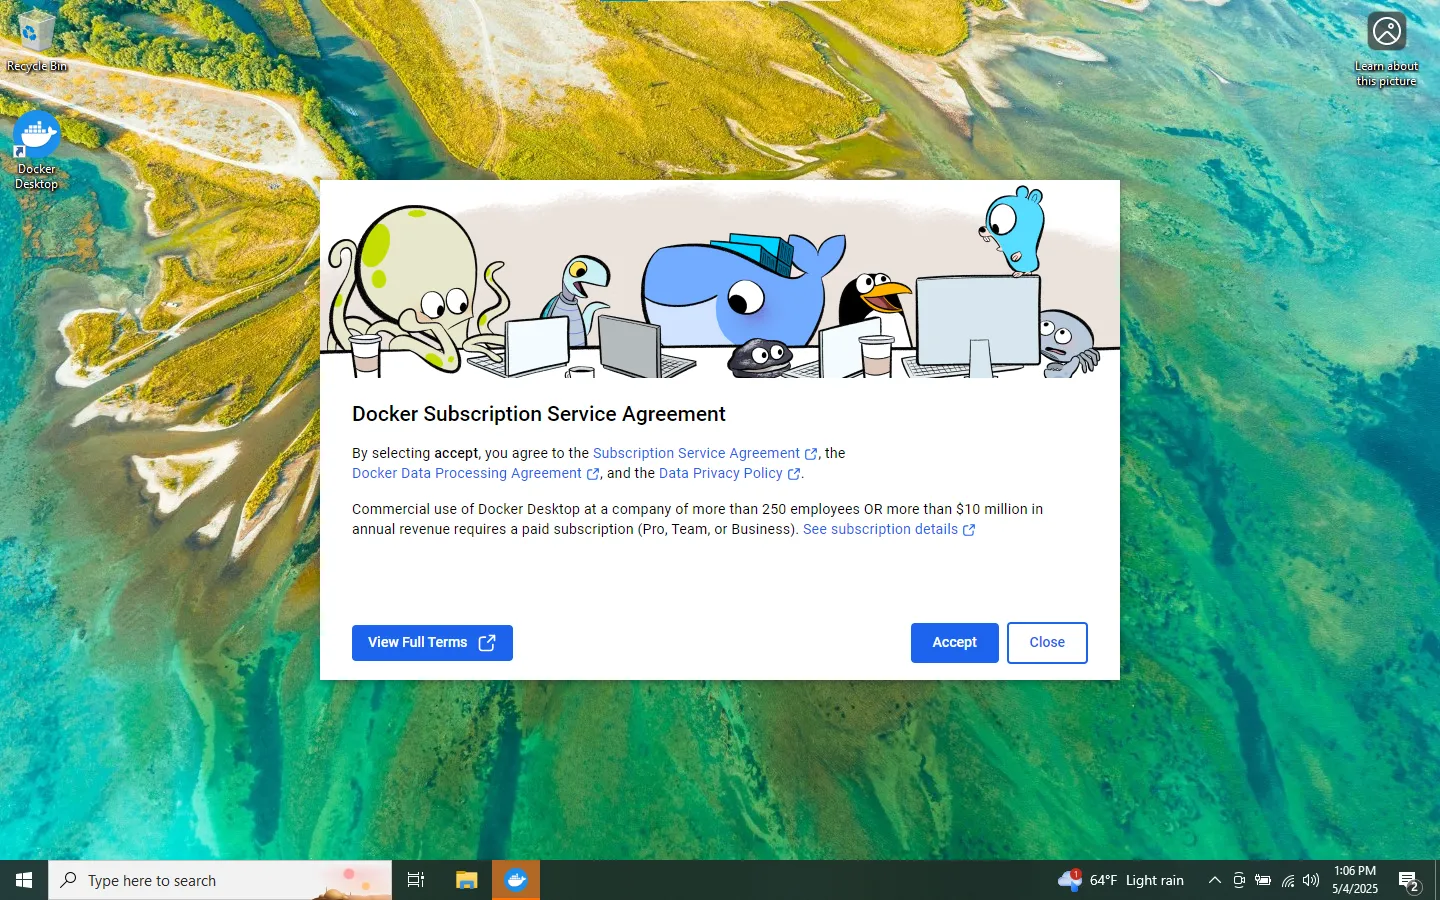
Accept the license agreement.
Use the recommended settings (except you know better).
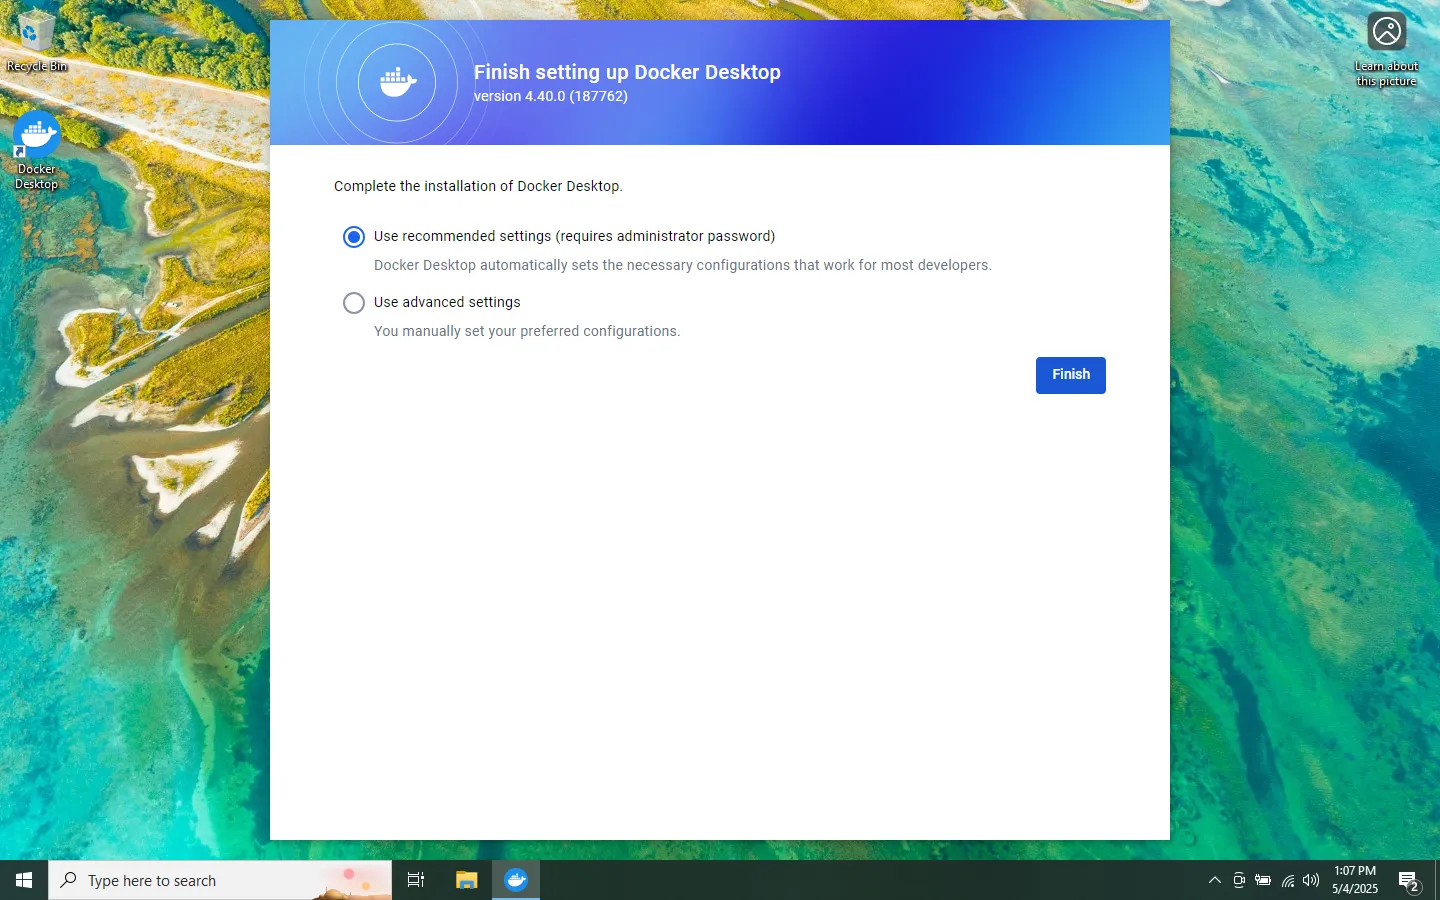
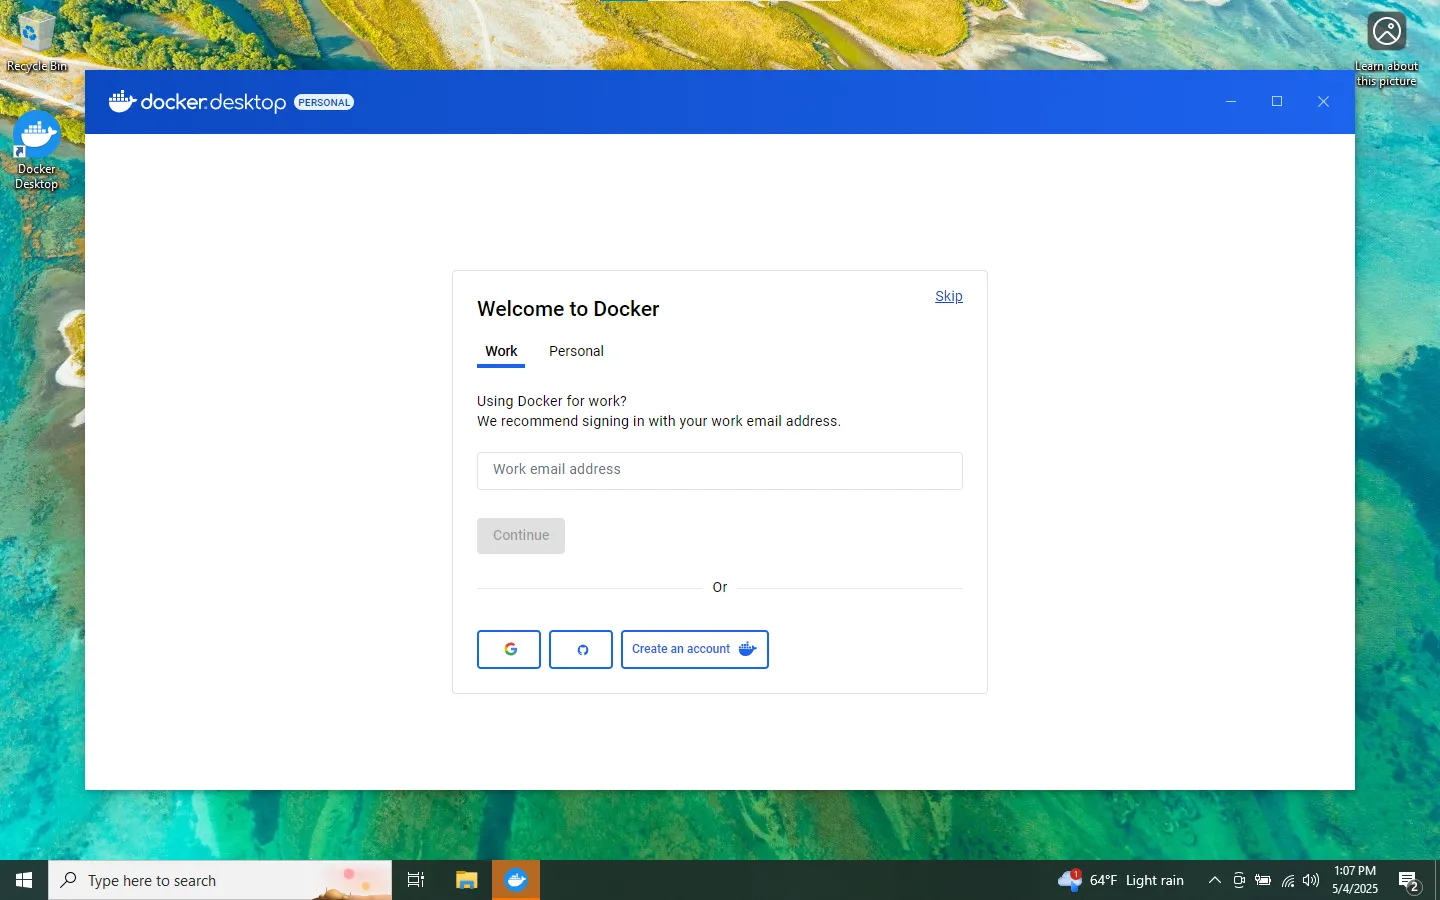
Skip the registration step (except you want to register).
Wait until Docker Desktop is started.
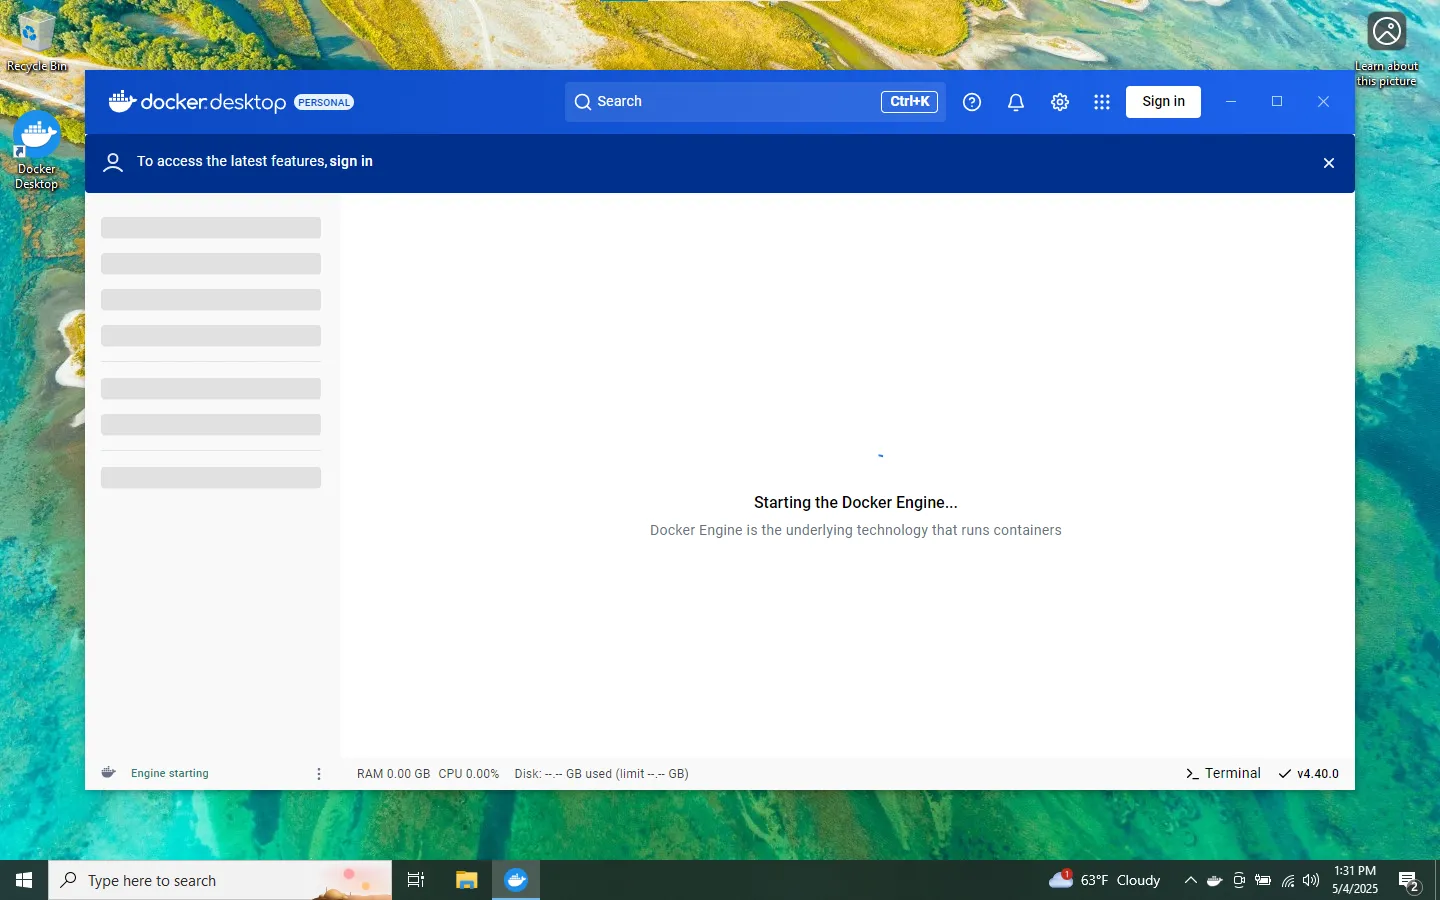
Verify that it says Docker
Engine runningin the bottom left corner.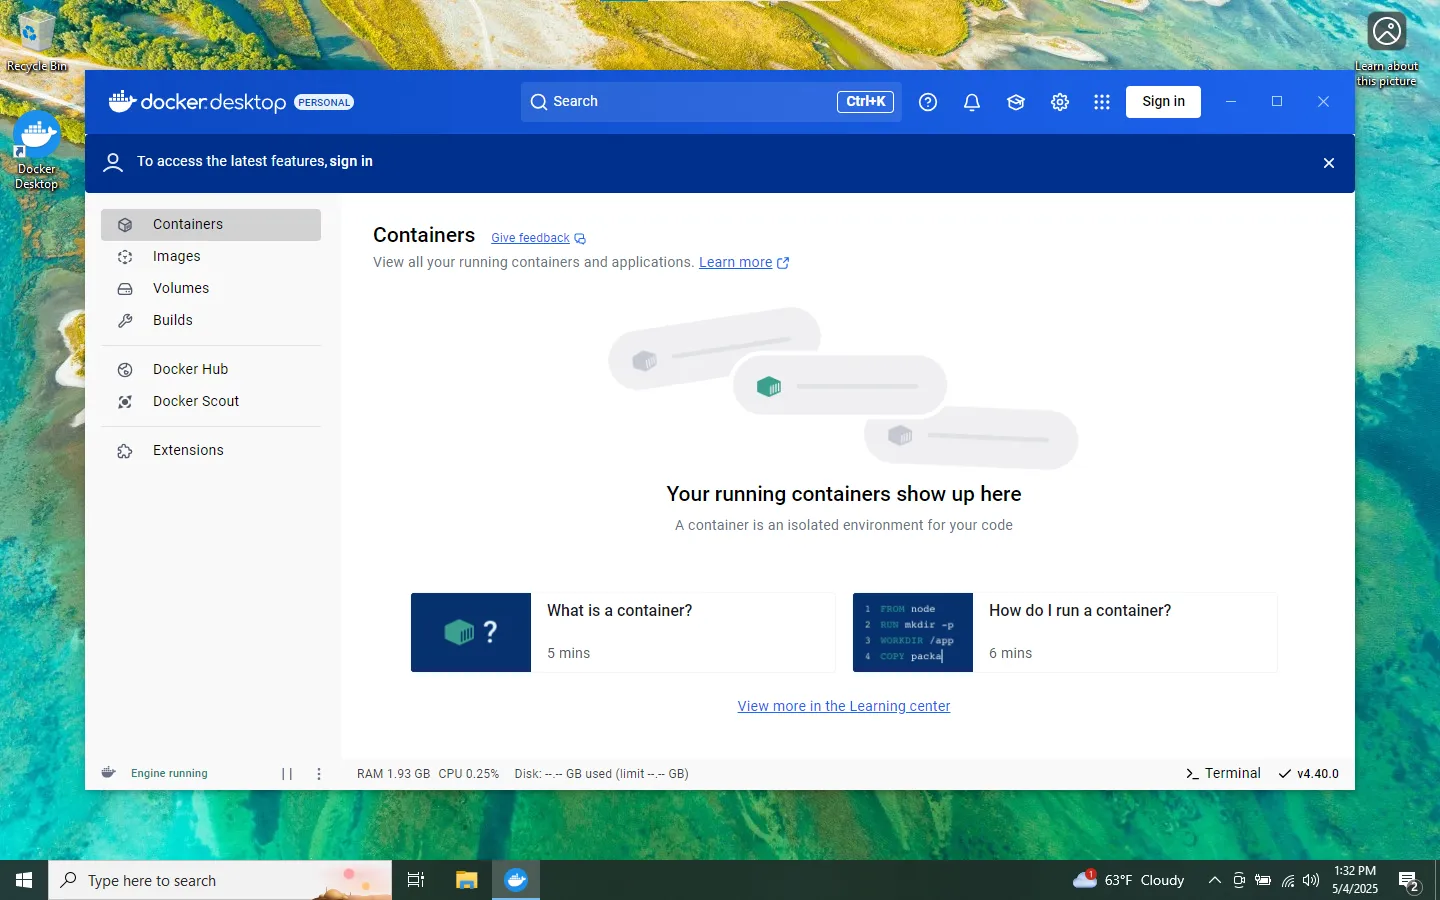
-
Open a PowerShell window.
-
Install the Taraxa lite node:
 mkdir C:/mainnet
 cd C:/mainnet
 wget https://raw.githubusercontent.com/Taraxa-project/taraxa-ops/master/taraxa_compose_mainnet/docker-compose.light.yml -O docker-compose.yml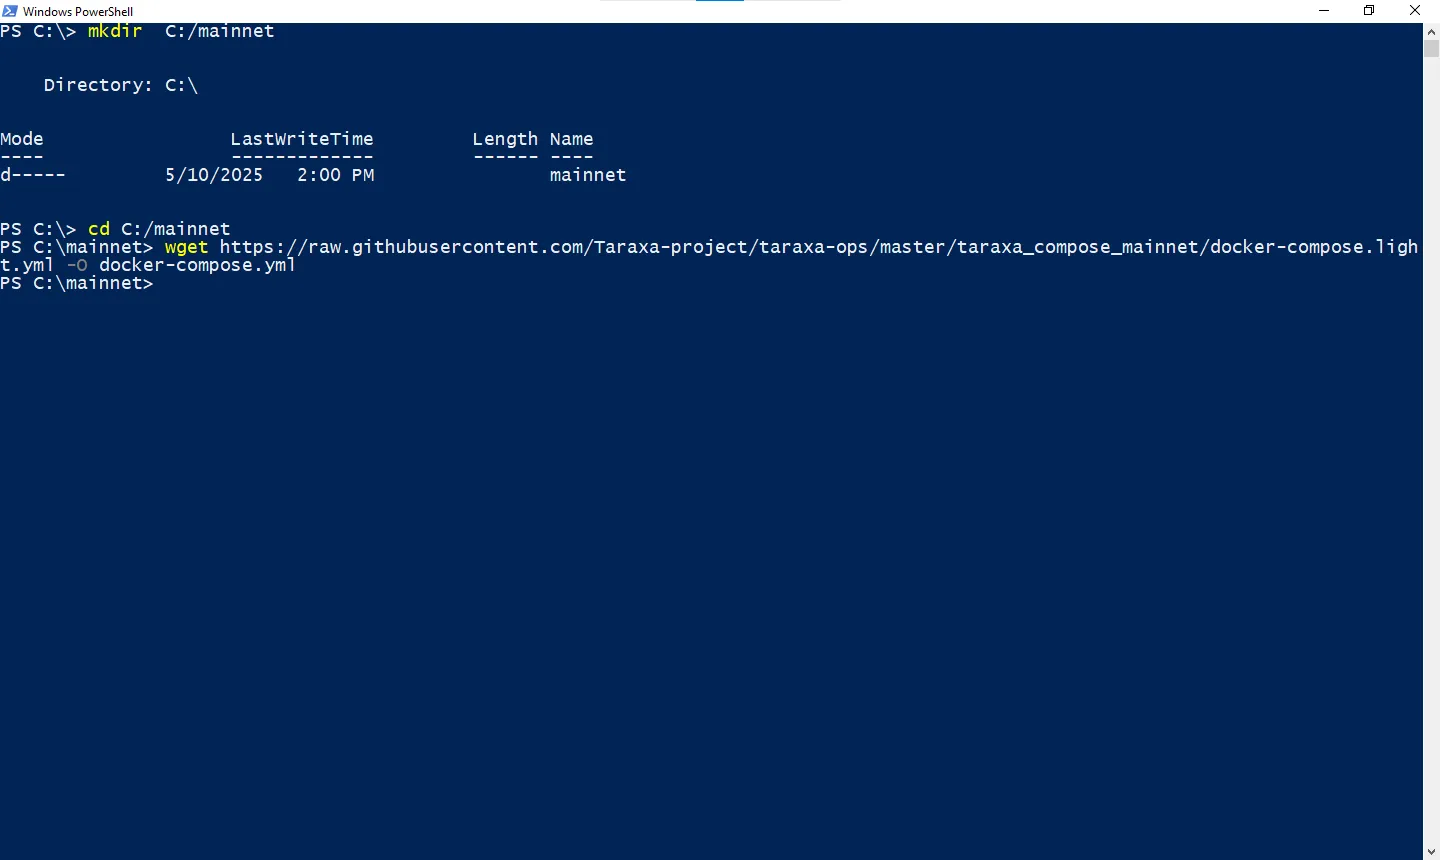
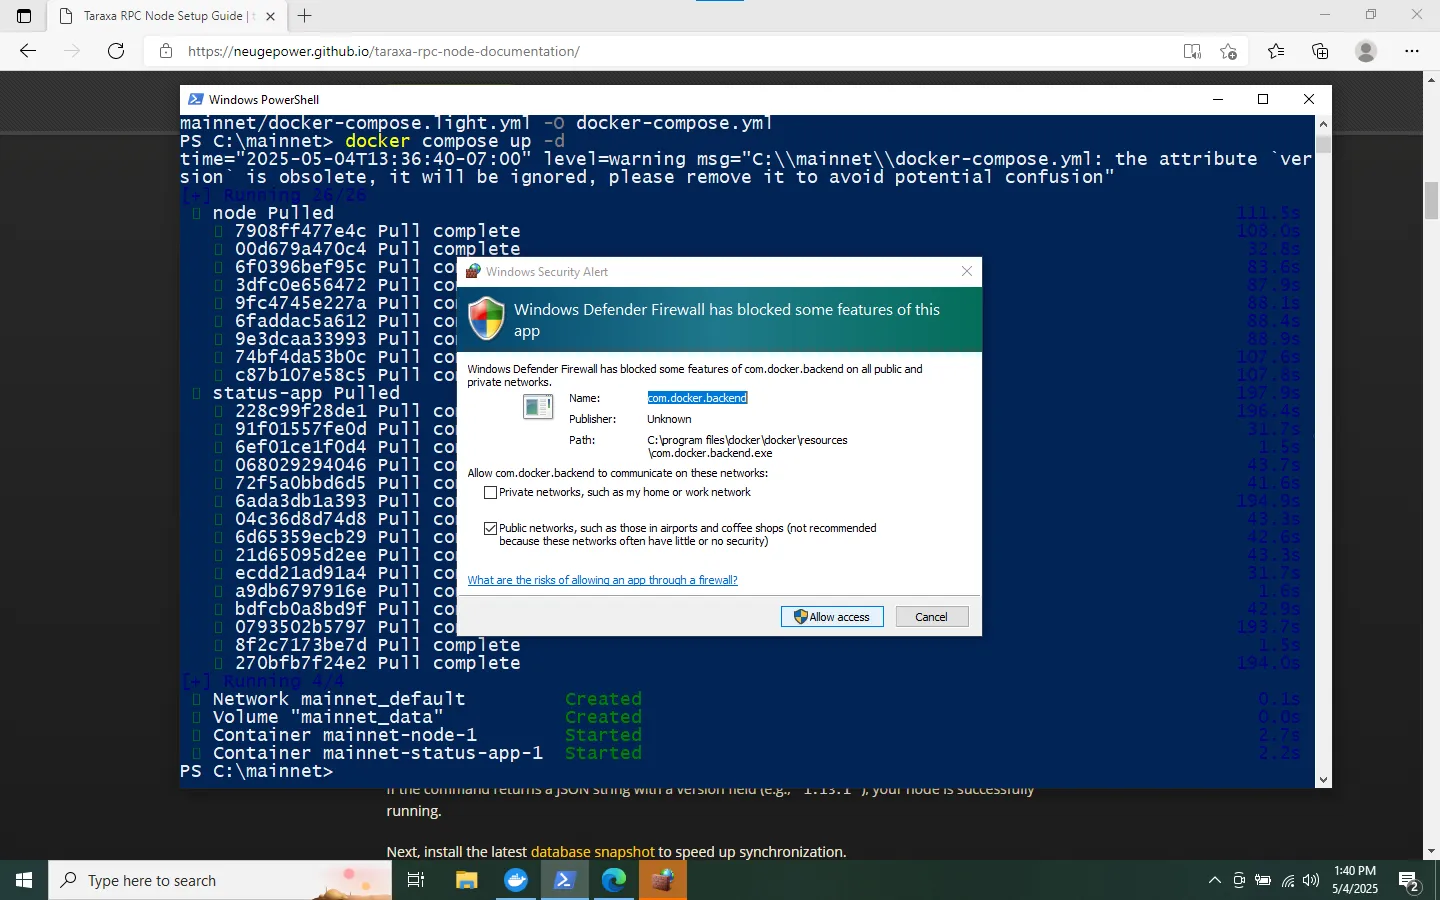
docker compose up -d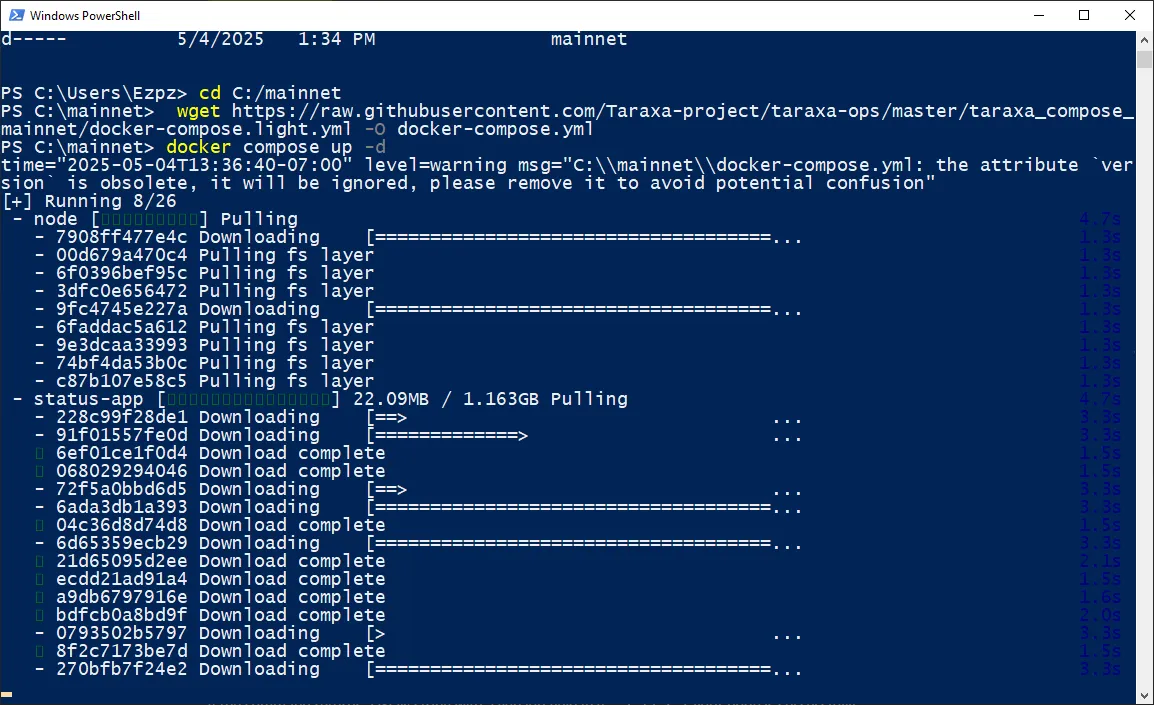
Allow access if a security prompt appears.
docker compose logs -f -n 100 node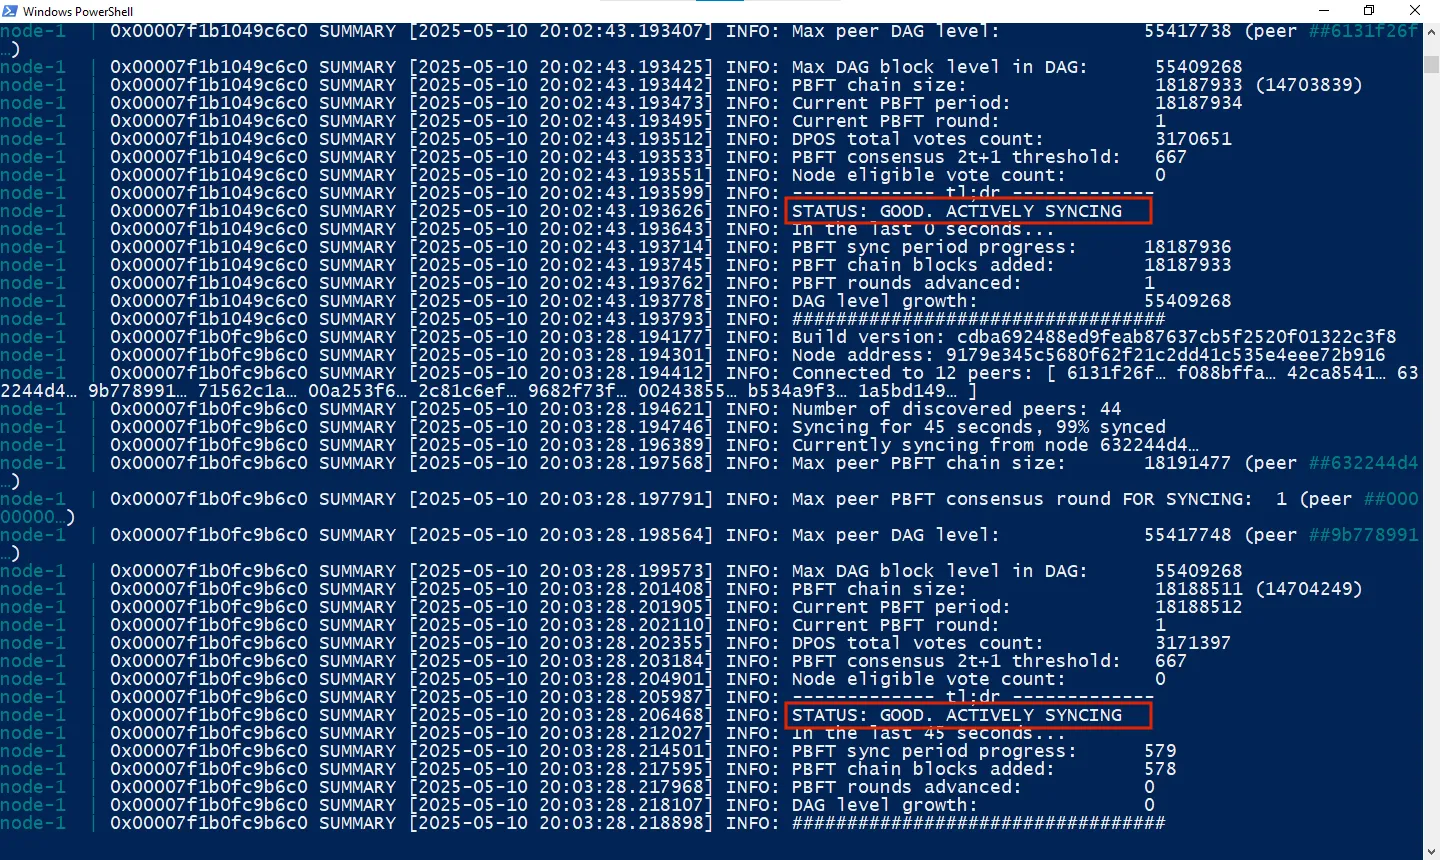
Press
CTRL+Cto exit the logs. -
Validate the RPC endpoint:
curl -X POST http://localhost:7777 --data '{"jsonrpc":"2.0","method":"taraxa_getVersion","params":[],"id":1}'
-
Install the latest database snapshot to speed up synchronization. Note that some commands may take a while to complete:
 docker compose down
 docker run --rm -it -v mainnet_data:/data alpine sh
 cd /data/db
 rm -r db state_db
 wget http://snapshots.cryptobauer.com/snapshot-litenode-latest.tar.gz
 tar xzf snapshot-litenode-latest.tar.gz
 rm snapshot-litenode-latest.tar.gz
 exit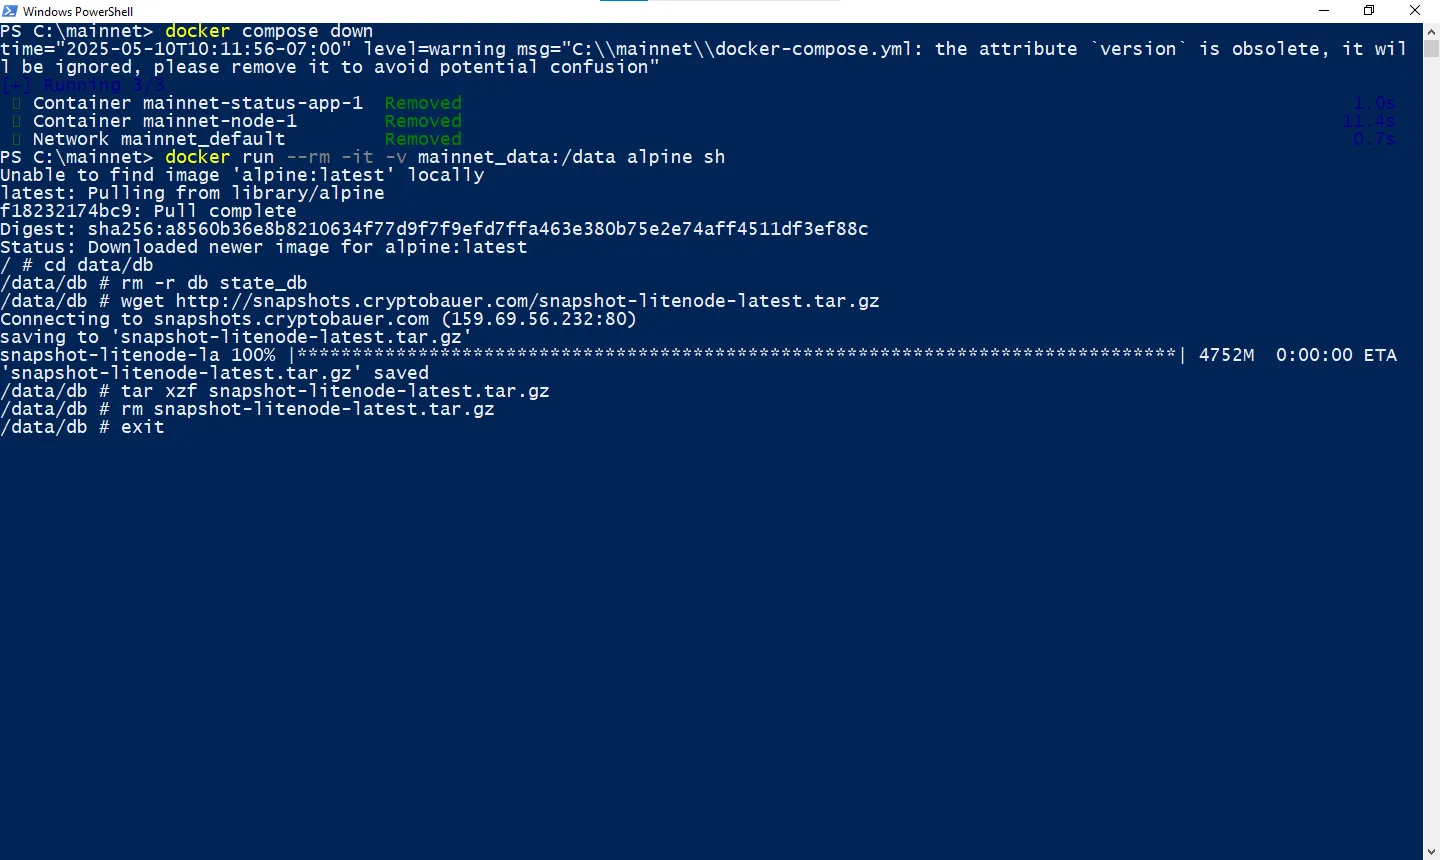
-
Start the node and monitor synchronization:
 docker compose up -d
 docker compose logs -f -n 100 node
Wait for the
STATUS: GOOD. NODE SYNCEDmessage. (PressCTRL+Cto exit.)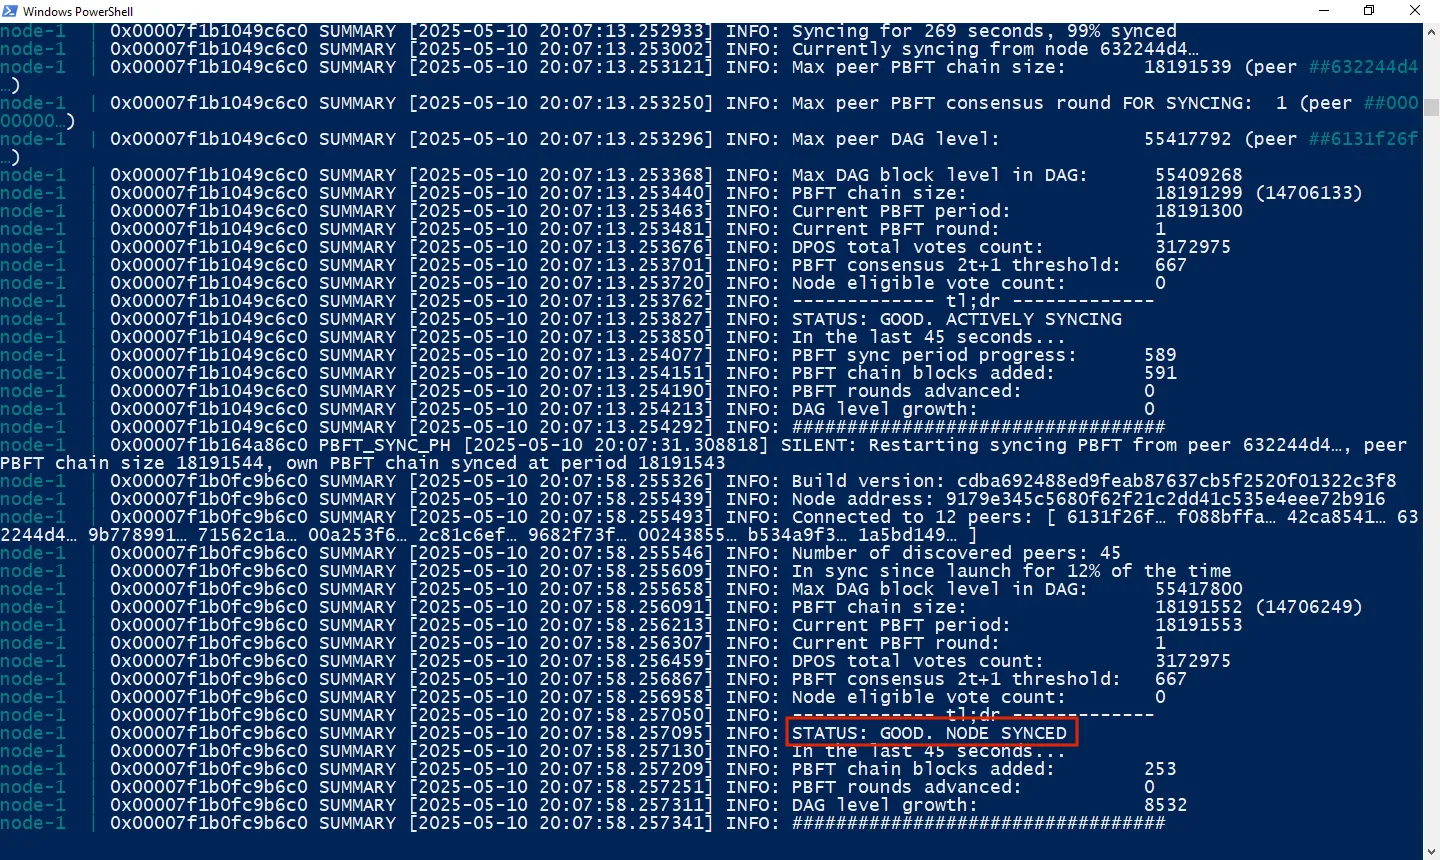
-
Revalidate the RPC endpoint:
curl -X POST http://localhost:7777 --data '{"jsonrpc":"2.0","method":"taraxa_getVersion","params":[],"id":1}'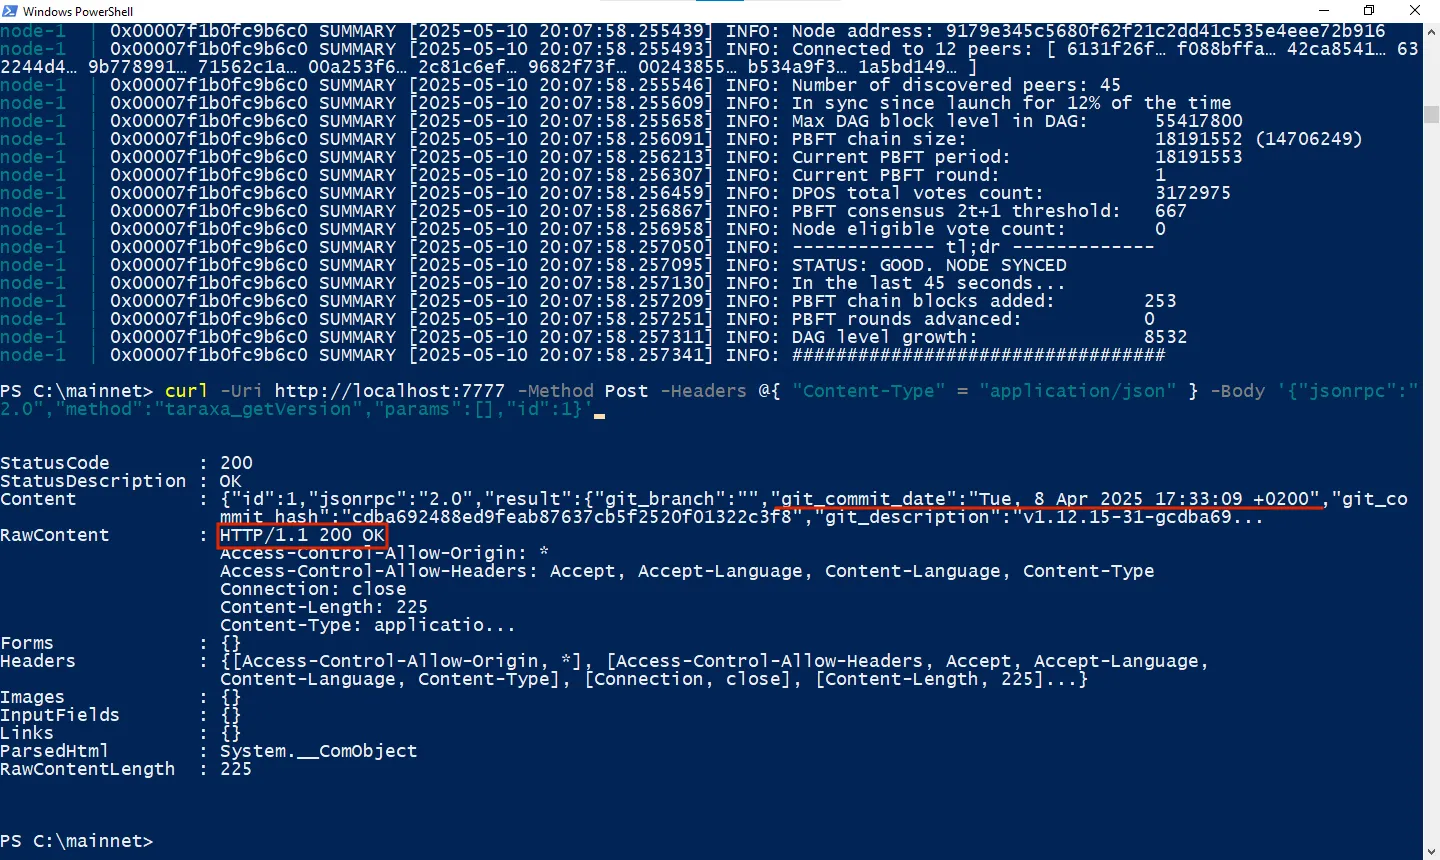
-
Optional: Test the RPC endpoint programmatically using the provided Javascript program. It requires Node.js to be installed.
 import { ethers } from 'ethers';

 async function printTaraxaVersion() {
     const rpcUrl = 'http://localhost7777';
     const provider = new ethers.JsonRpcProvider(rpcUrl);

     try {
         const version = await provider.send('taraxa_getVersion', []);
         console.log('Response from Taraxa RPC node:', version);
     } catch (error) {
         console.error('Error interacting with Taraxa RPC node:', error);
     }
 }

 printTaraxaVersion();
Then run on your local laptop or desktop:
 npm install ethers
 node taraxa-rpc-test.js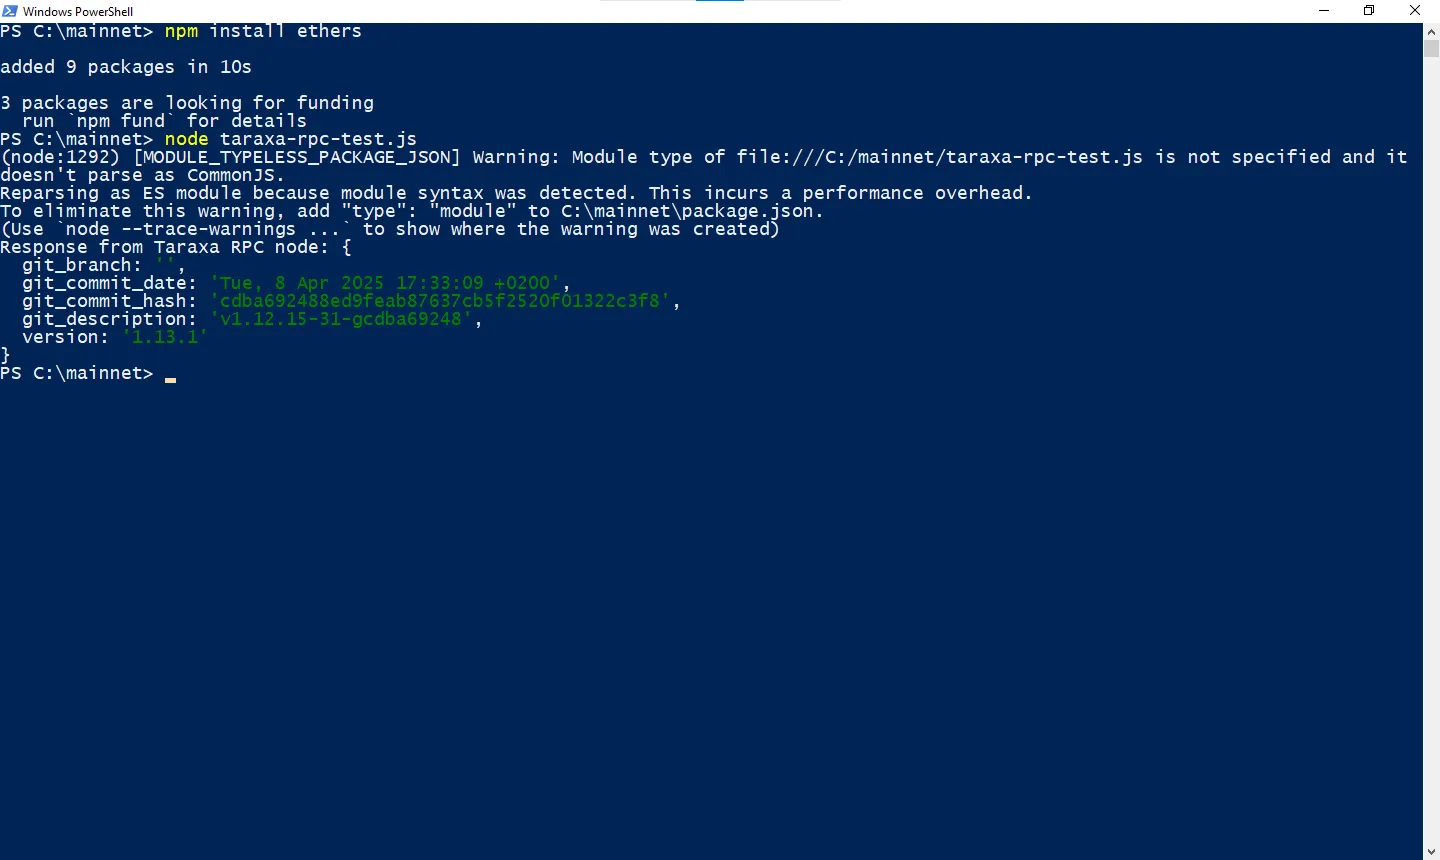
Congratulations! Your Taraxa RPC node is now installed and ready to interact with the network and your applications.